Anaconda and Python Installation Guide
Reference: Anaconda Environment Cheat Sheet
What is the Anaconda Distribution?
Different libraries in Python can perform amazing tasks for data and computer science. Some of these libraries can be used to create graphs and plots of data, some could be used to access large datasets, and others could perform specific machine learning algorithms. These libraries all run on specific versions of the Python environment, which can differ between packages. The Anaconda Distribution contains a large collection of Python libraries and an environment management tool to make it easier for you to access all of the libraries you need.
Popular packages include NumPy, SciPy, Matplotlib, Seaborn, and Scikit-Learn to name a few.
Let's install Python 3.7 before we can install Anaconda.
The Anaconda version of Python 3.7 is the standard version of Python that is used on Cornell’s campus. Note that this version of Python only works for MacOS Sierra (10.12) or higher (you can check your MacOS version and update it accordingly in the Settings app:
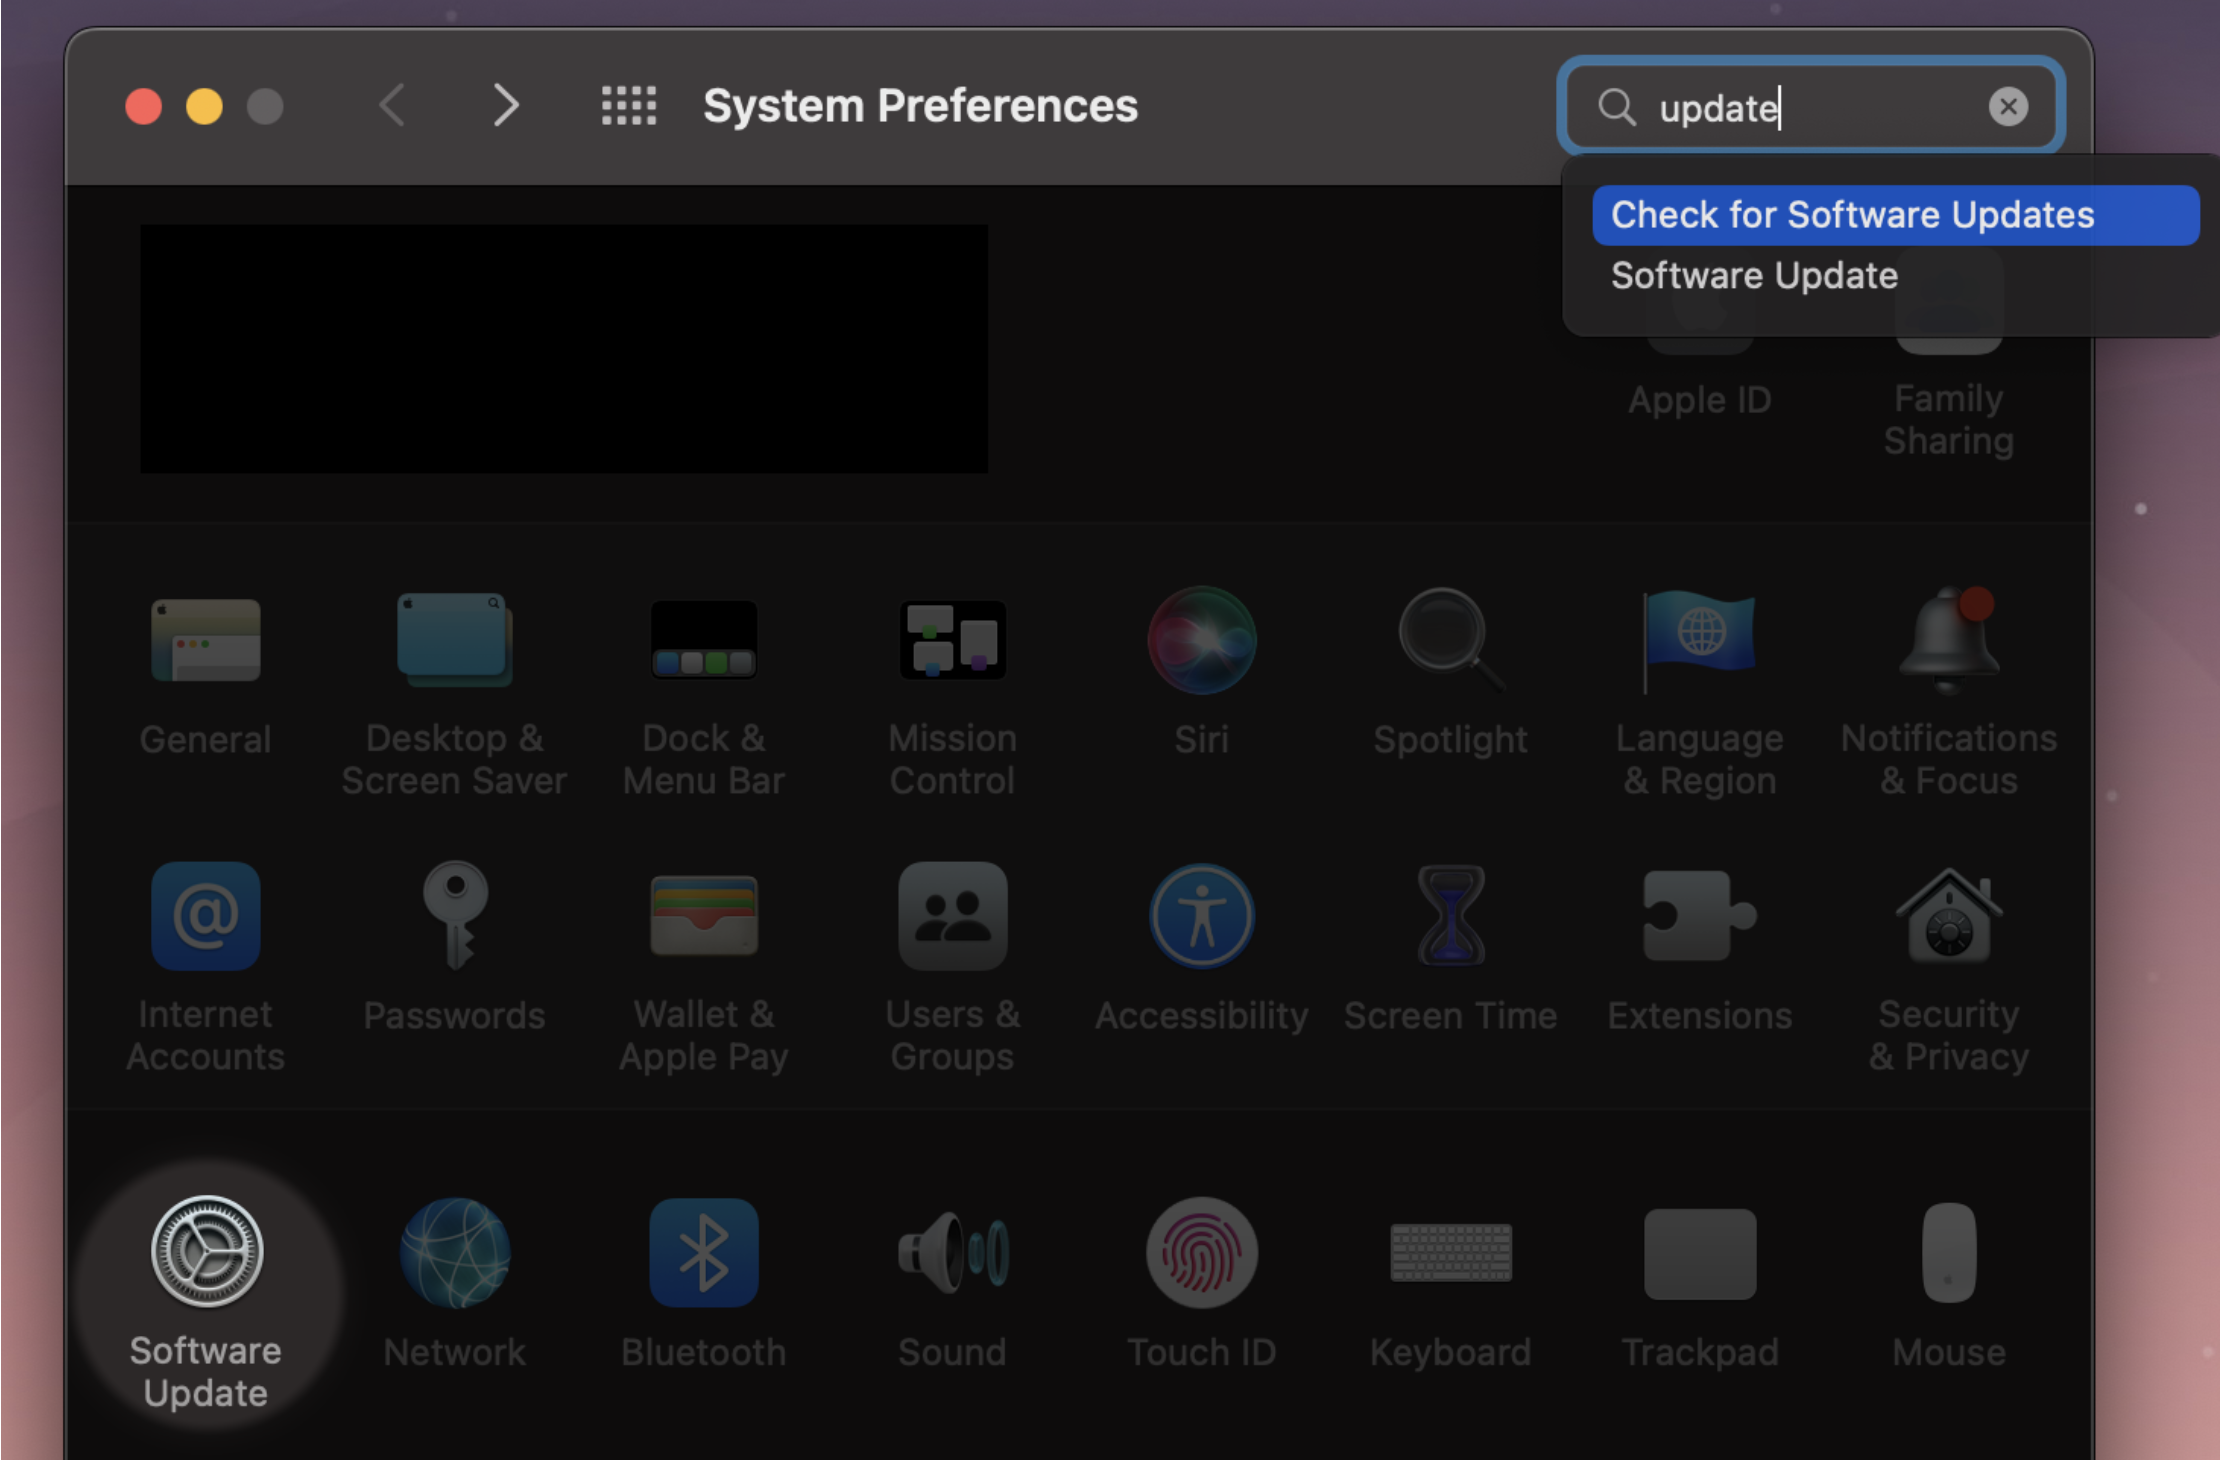
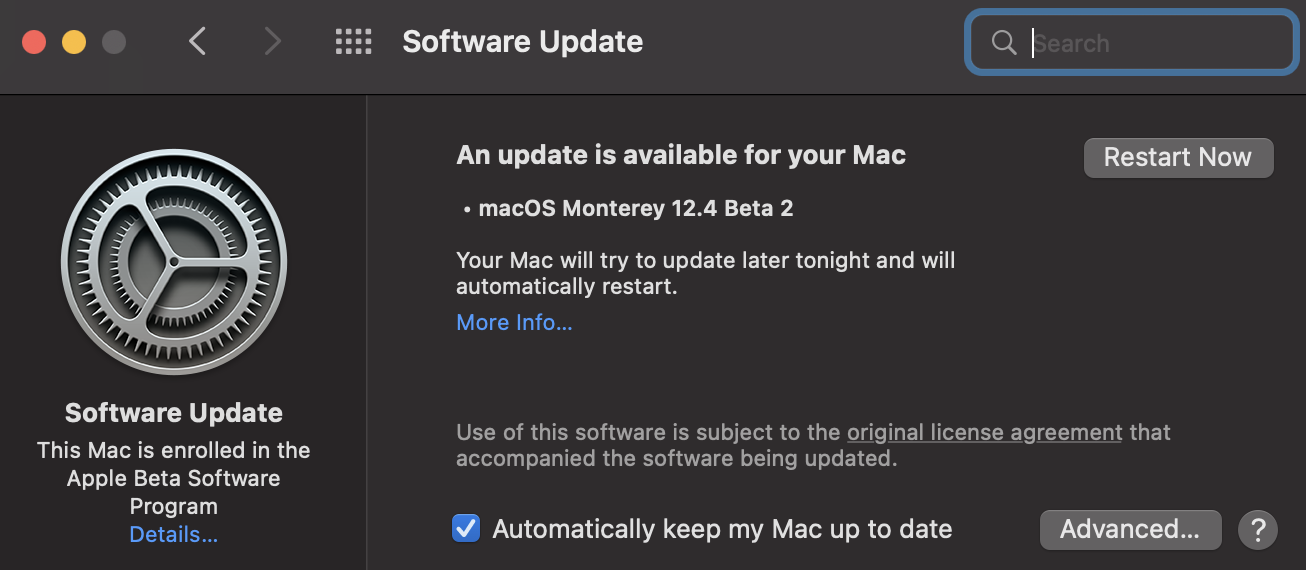
After verifying you are on a valid MacOS version, follow this link to download Anaconda 3.7 for MacOS, a desktop application from which you can launch Jupyter Notebook. Clicking this link will download the installation app for Anaconda; double click it to launch the installer and follow the steps.
- Click through the Introduction, Read Me, and License sections.
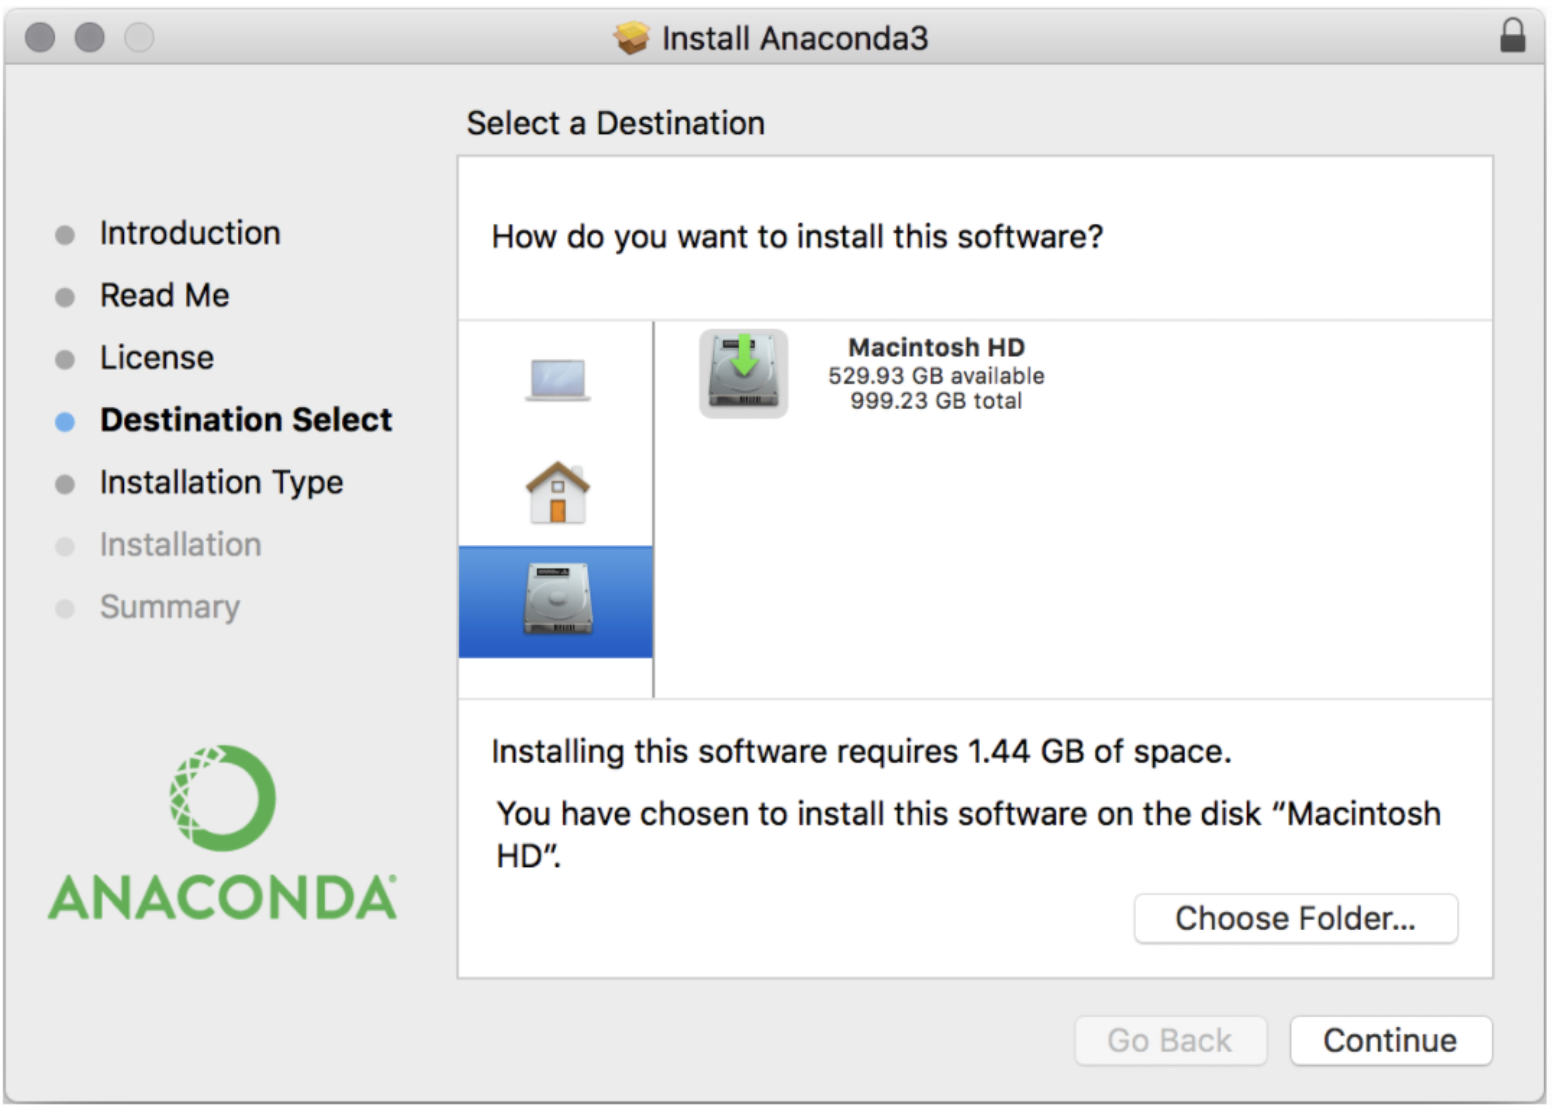
- In “Destination Select,” choose “Install on a specific disk…”. This is the option with the image of a hard drive underneath the option with the image of a house (the “Install for me only” option). Choose where to install Anaconda with the Choose Folder button, and select your Applications folder. After doing so, click the continue button.
- Click the Install button in the bottom right corner to install the Anaconda application.

Python has now been installed!
You can check to ensure proper installation by opening the Terminal app and typing “python” and hit the return key. The terminal will then show >>> |
Nice work! You have successfully entered the Python Interactive Shell.
HOWEVER: If this does NOT appear:
- Reload the terminal and copy/paste the following:
- If the only output in the terminal is “...”, try rebooting and reinstalling Anaconda.
ls {/opt,/Applications,~,/Users/Shared/RelocatedItems/Security}/anaconda3/bin/python 2>/dev/null; echo "..."
In the line immediately underneath where you typed “python” and hit return, check which version of Python is output. This is how you can check which version of Python you are running, and for most Cornell courses it is recommended to use iterations of Python 3.7.
What is the Anaconda Navigator?
The Anaconda Navigator is a Graphical User Interface (GUI) for managing Python. From the Navigator, you can install packages, create and edit environments, and launch Python specific applications. There are two methods to open the Anaconda Navigator application:
- Method 1: Open the Launchpad (keyboard shortcut: command + space bar, type Launchpad). Open the Anaconda-Navigator application.
- Method 2: Open a Terminal (use Spotlight Search (shortcut: command + space bar) and type Terminal). In the Terminal window, type anaconda-navigator.
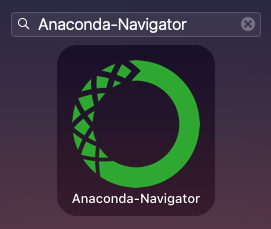


Note that you can move the Anaconda Navigator application to the Applications folder and then anywhere you’d like (into your Taskbar, onto your Desktop, in a specific folder, etc.), and open it. Once it loads, click the "Launch" button underneath Jupyter Notebook.

After clicking Launch, the Jupyter Notebook tab should appear in your browser and look something like this:
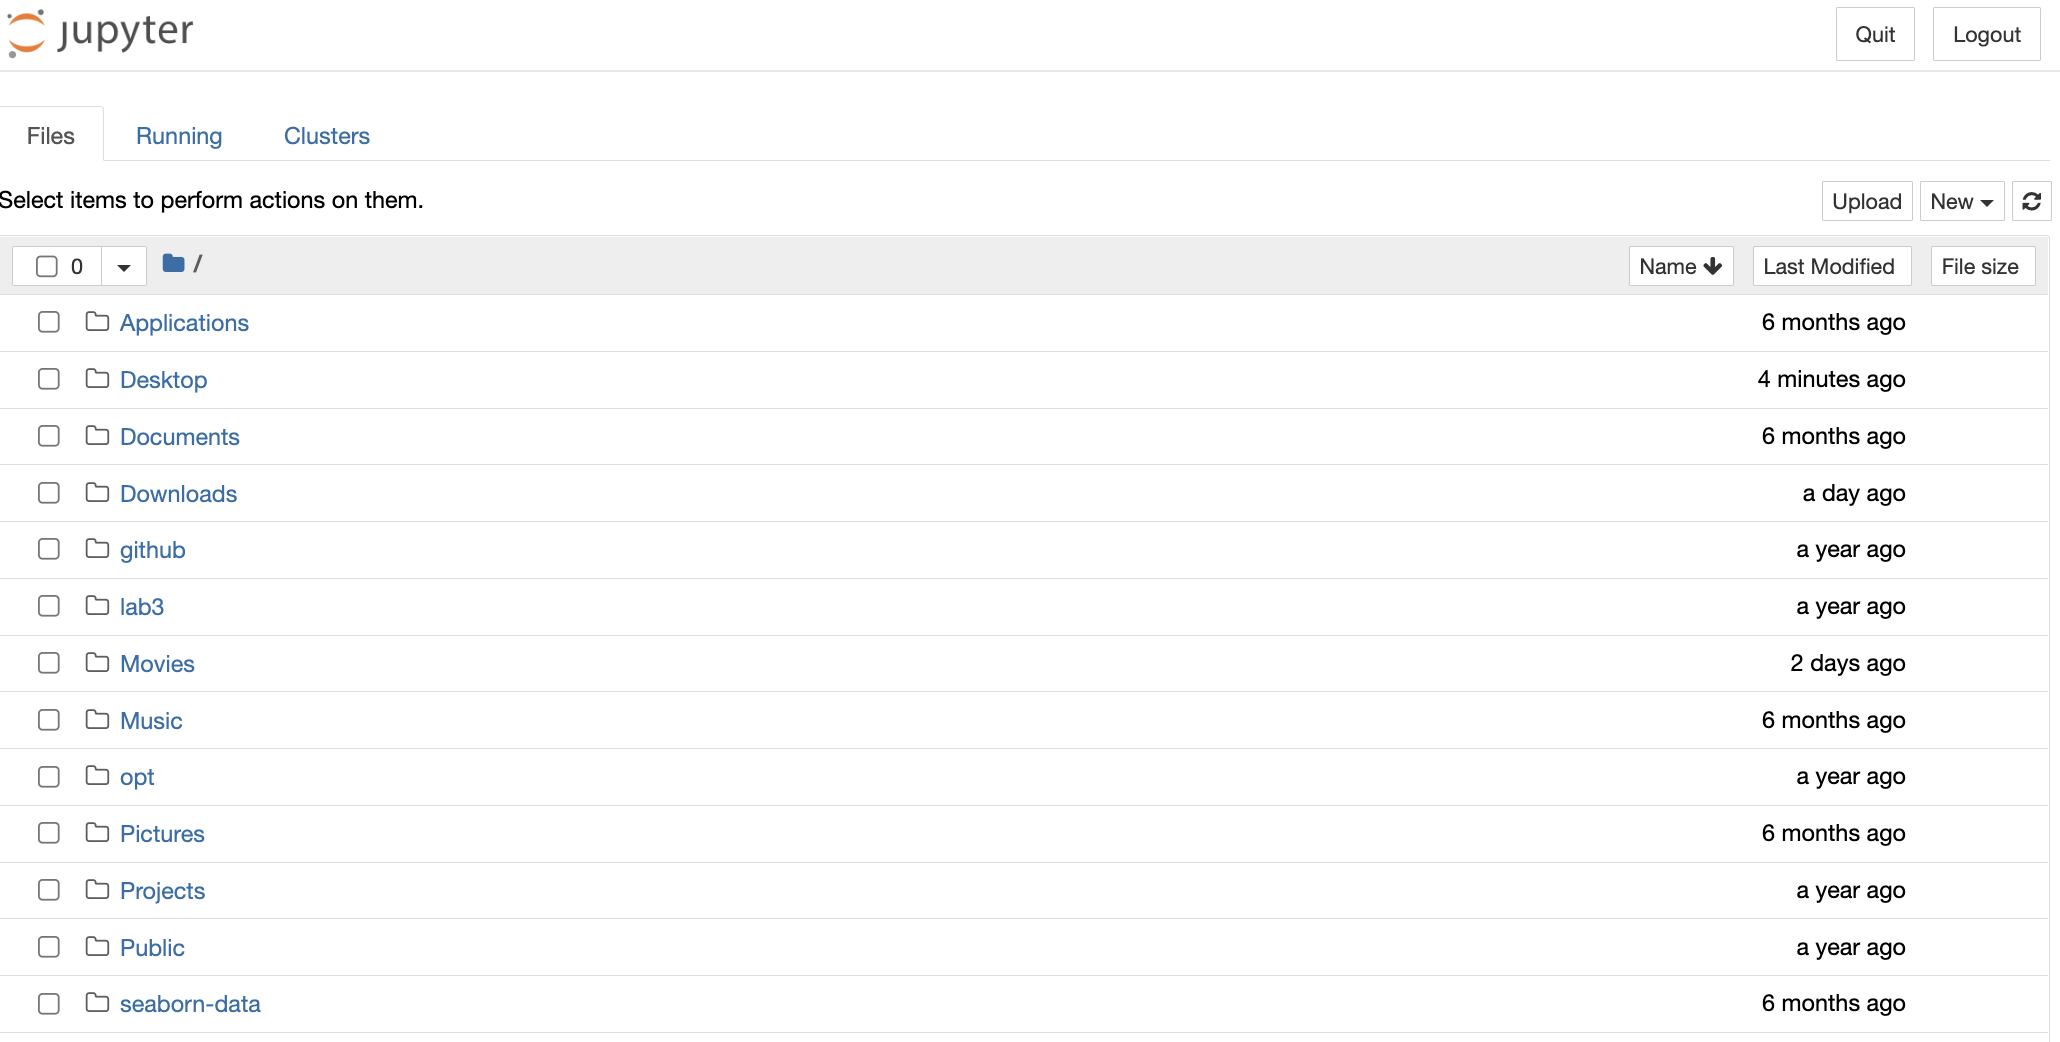
From here, you have two options. You can click the “New” button and select Python 3. This will create a brand new Notebook file that’s stored in the same directory that Anaconda is in. It should look something like this:
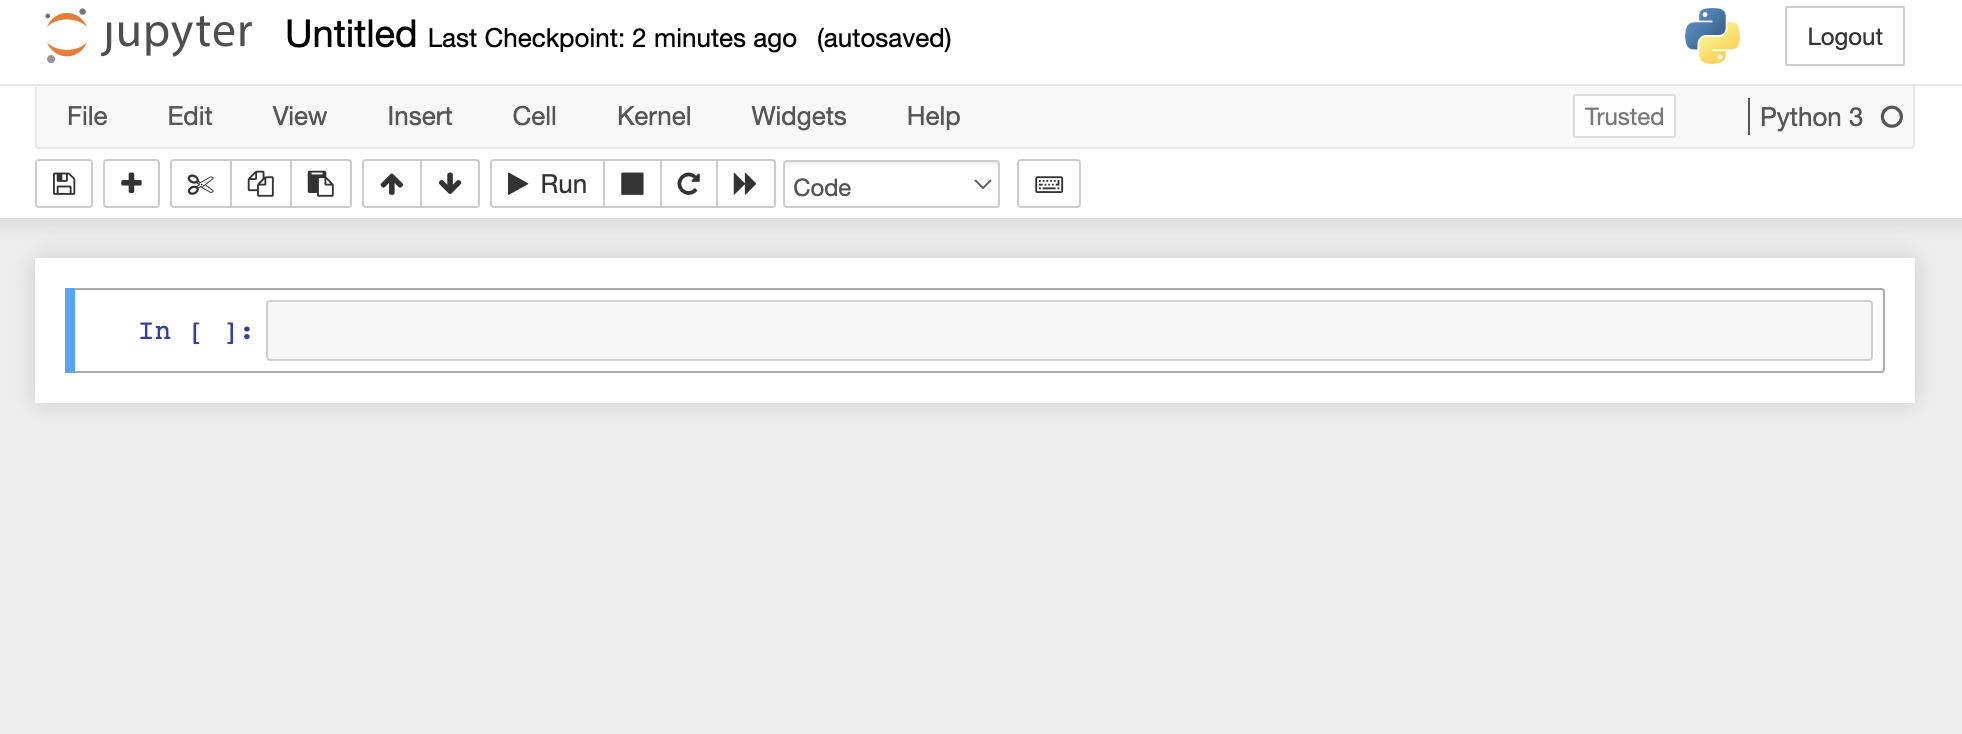
The other option is that you can move through different folders to get to where your .ipynb file is located. For example, if you have the notebook file on your Desktop, select the Desktop folder and then click on the specific file. An example could look like this:
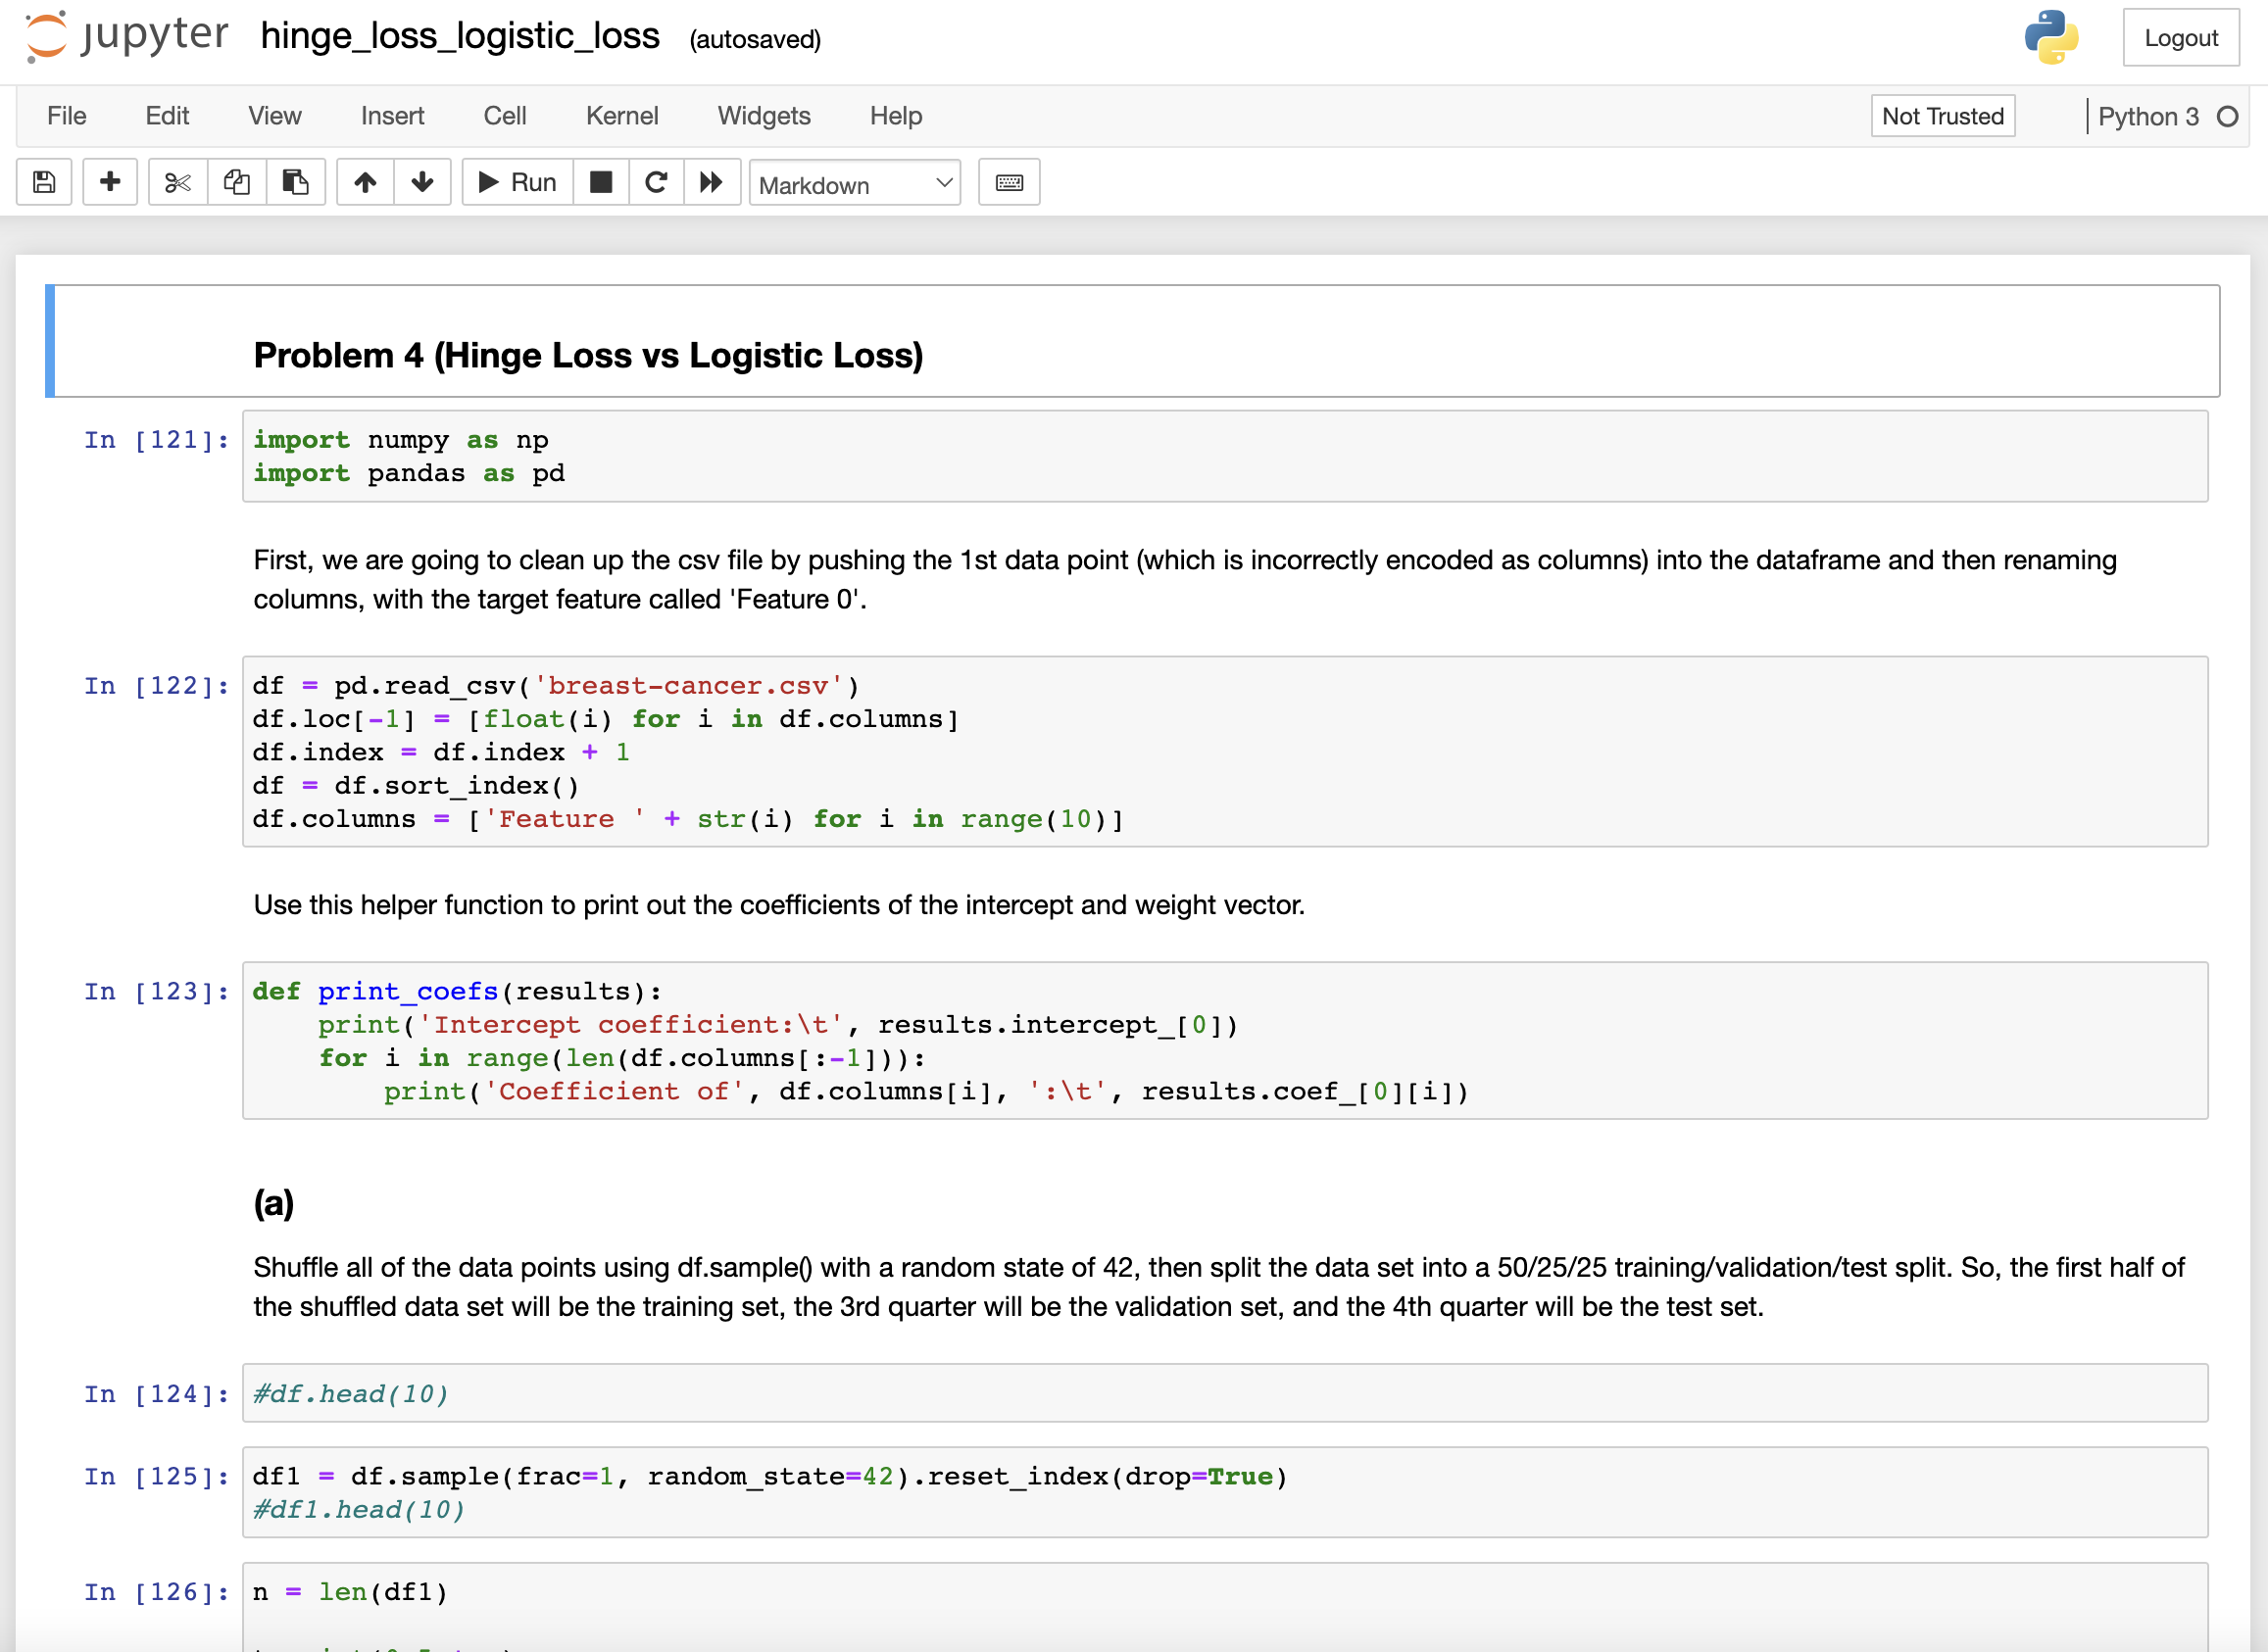
Let's get started!
Let's begin by downloading and opening Tutorial 2: Getting Started with Jupyter Notebook . Click the start button:

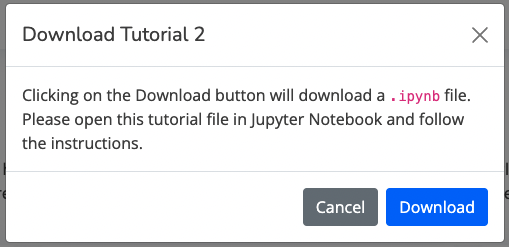
You will now be prompted with a download link for the Tutorial-2.ipynb notebook file. Click download.

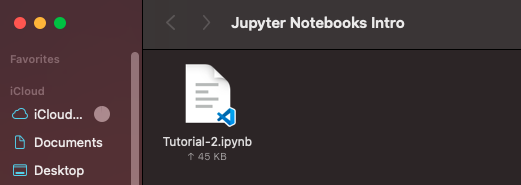
Move the file from your browser to the necessary destination. To make it easy, let's create a new folder on the Desktop and name it Jupyter Notebooks Intro.
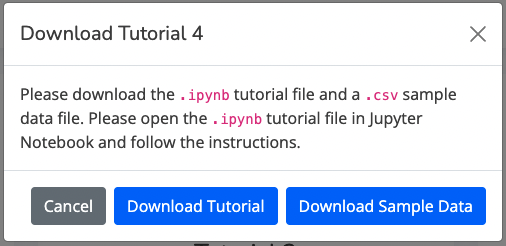
Note: Tutorial 4 has a dataset to download. When working with external datasets (such as .csv files), store them in the same location as your notebook file.
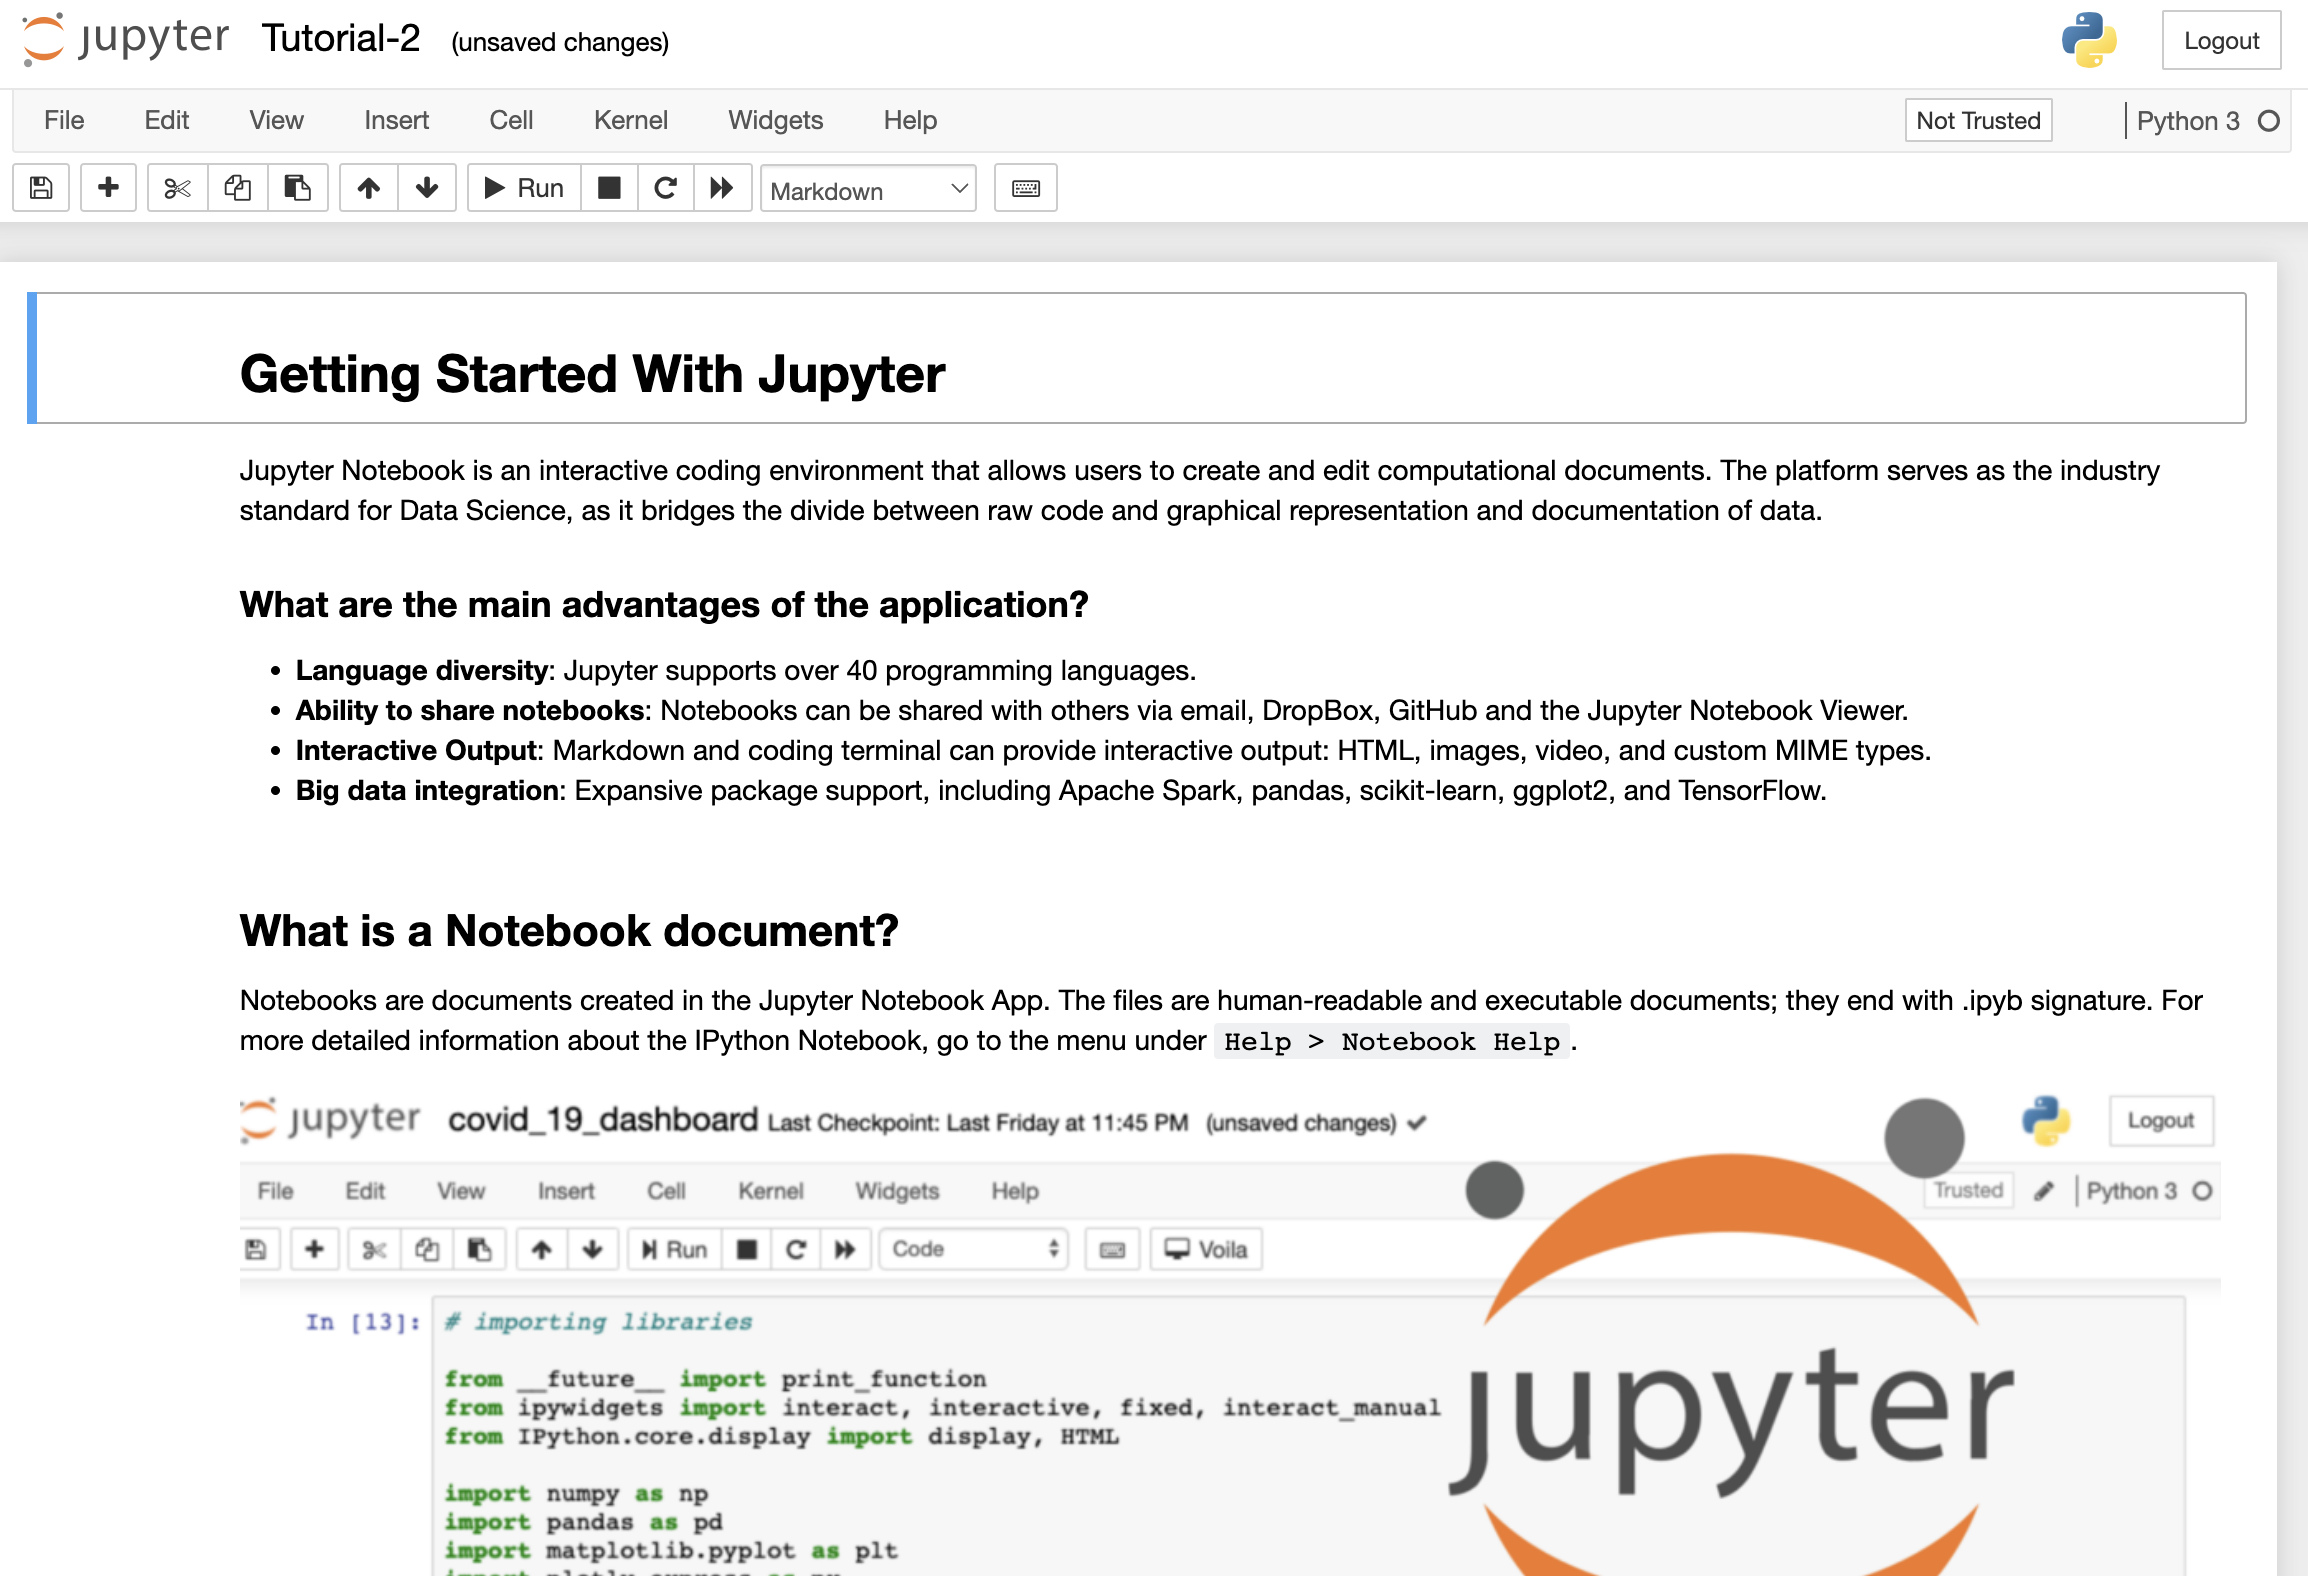
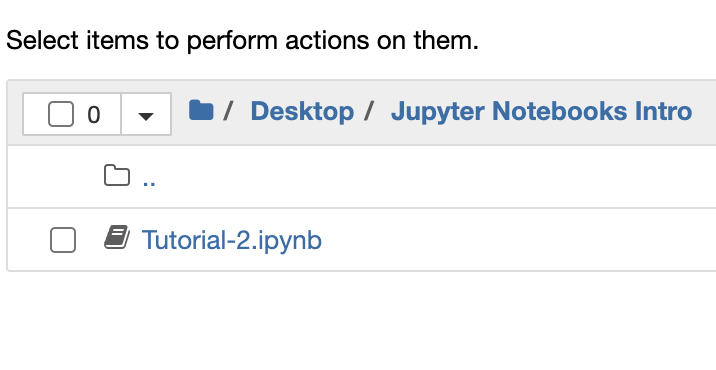
Open the folder with our file (Desktop --> Jupyter Notebooks Intro --> Tutorial-2.ipynb):
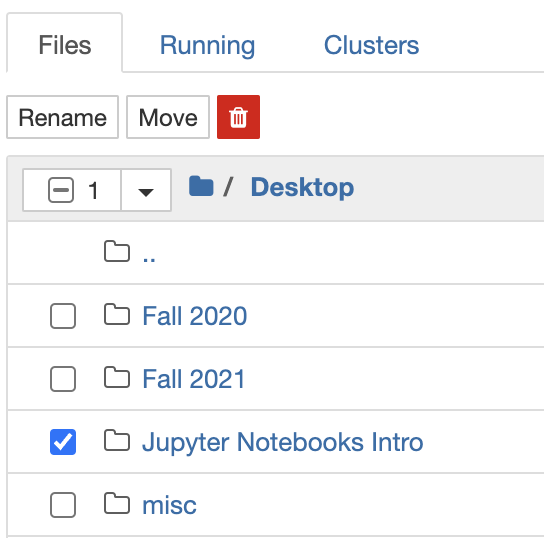
You have now opened Tutorial 2!
