Objectives:
- Learn to use the Arduino IDE.
- Build a robot frame with Servos and Arduino Nano Every.
- Add Ultrasonic Sensors to navigate a maze autonomously.
Materials:
- Robot frame
- Arduino Nano Every & micro USB cable
- 2 * servo motors
- 3 * ultrasonic sensors
- Caster wheel
- 9V battery
- 3 * AA batteries (each is 1.5V) and AA battery holder
- Breadboard, wires
- Velcro and tape
- Screws, nuts & washers
- Wood and other for walls
Setup:
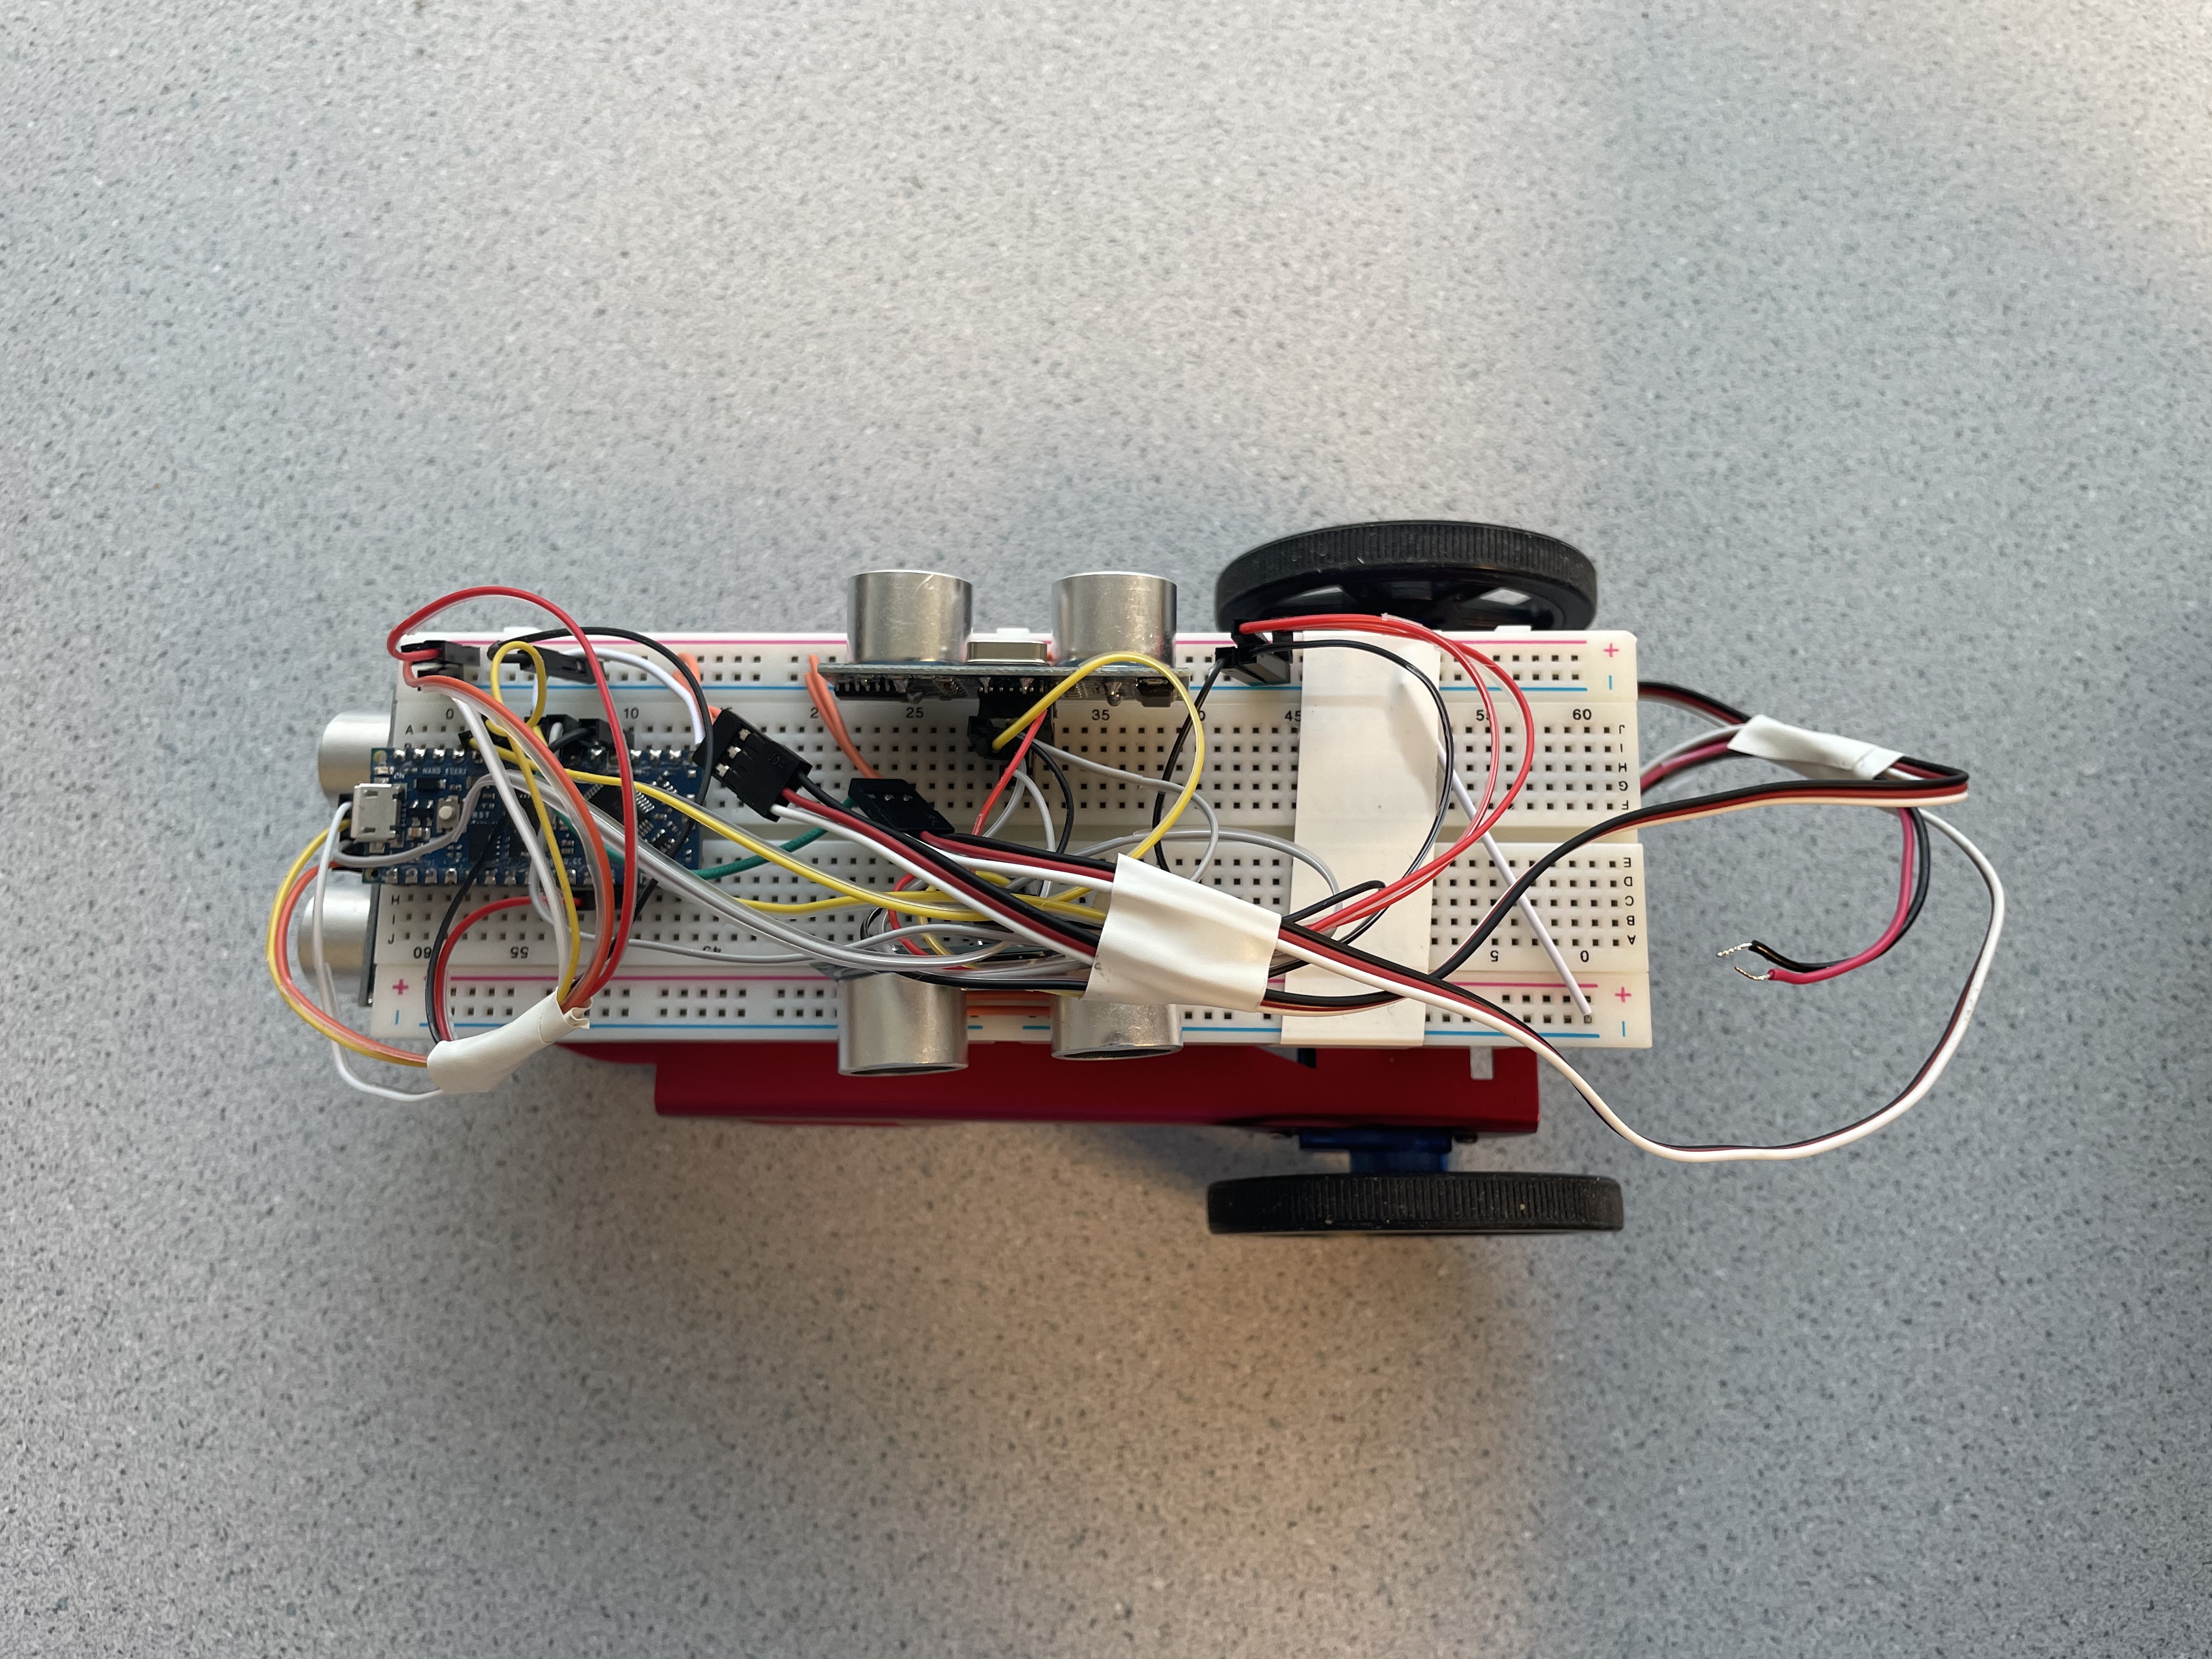
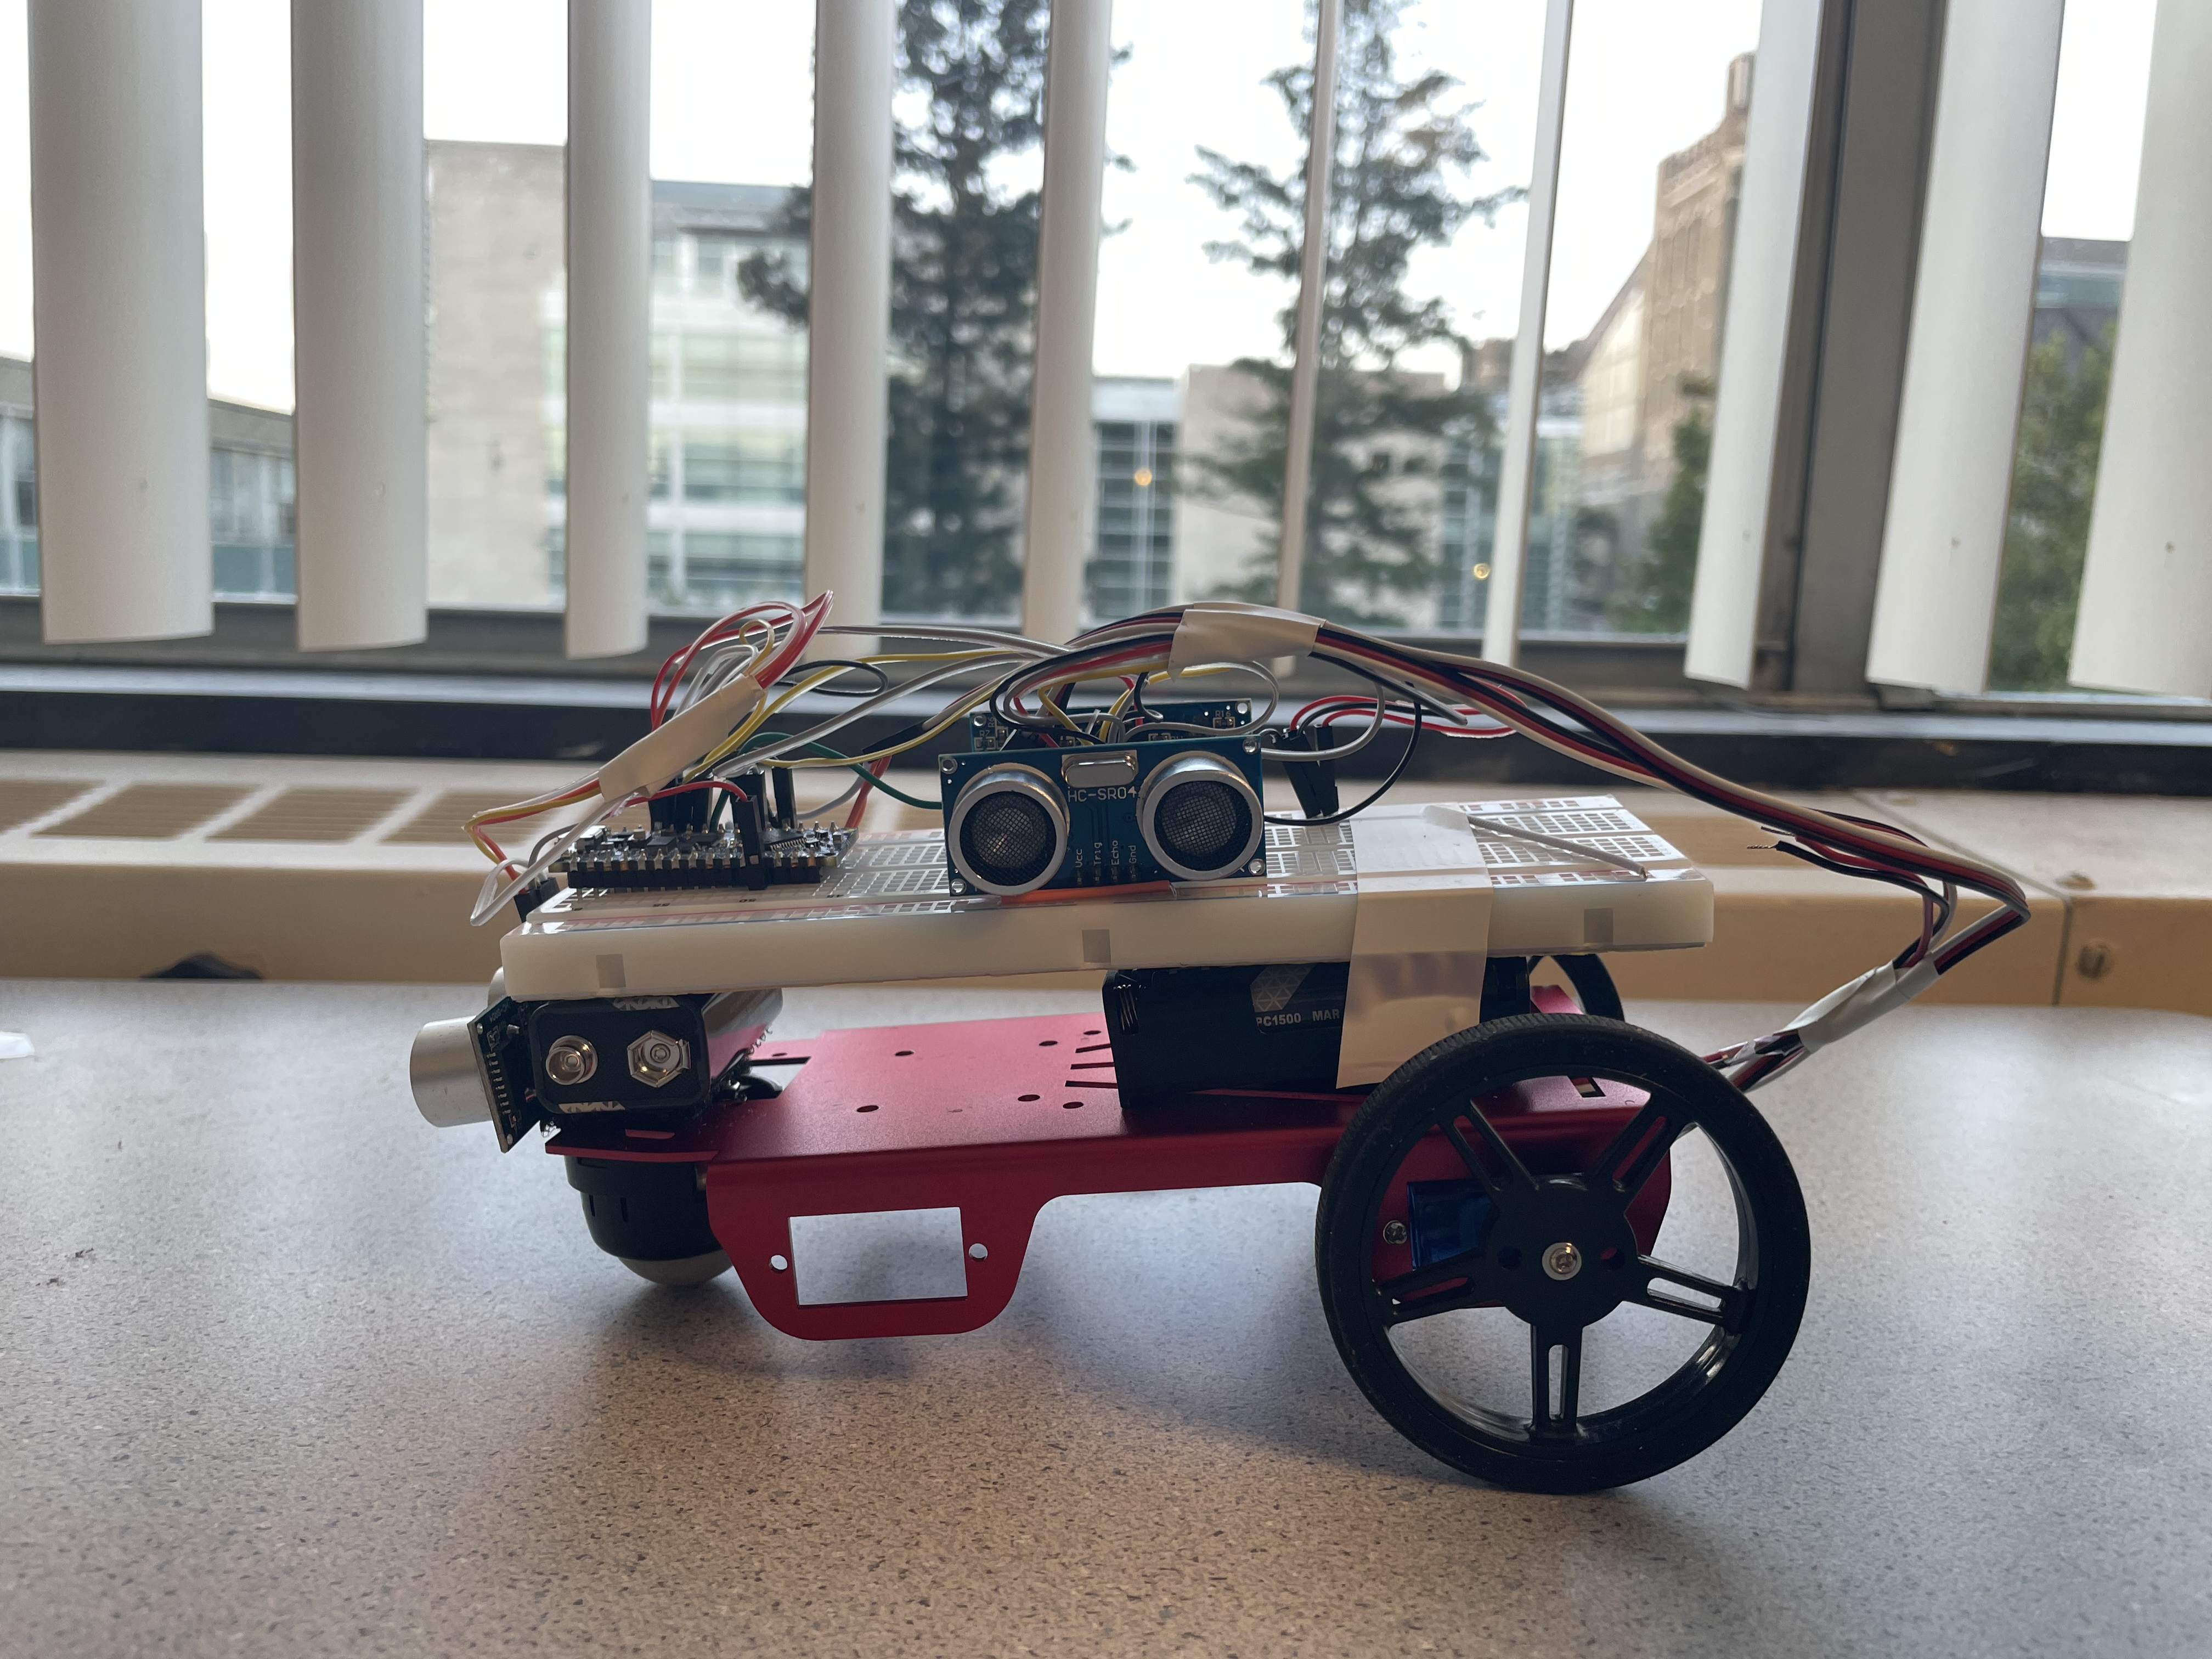
For the first part, we mounted a front caster wheel and two servo motors with wheels on the robot frame. We then affixed an AA battery holder at the back of the frame and a 9V battery on the front of it using Velcro slices. On top of it we positioned our breadboard with Arduino Nano Every inserted. To protect exposed pins of the Arduino, we placed insulation tape along the sides of it. Finally, in order to verify that the Arduino was functioning correctly and that the IDE was configured properly, we ran a simple blink code to flash the on-board LED.
Once this was done, we are ready for the next part: coding with servos.
Servos:
The task for this part of lab is to program a sequence of movements of our robot:
- Starts in place facing north, motionless
- After 5 seconds, goes north over approximately 20 cm, then stops, still facing north
- After 1 second, turns to its right towards the east in place by approximately 90 degrees, then stops, facing east
- After 1 second, turns to its left in place by 270 degrees, then stops, facing south
- After 1 second, goes south over approximately 20 cm, then stops, still facing south
- After 1 second, turns to its right by 180 degrees, then stops, facing north
To accomplish this goal, we first used wires to connect servo motors and Arduino Nano Every to power, then used functions in Servo.h library to control the servos.
Below is a video of our robot completing this task:
We encountered some problems in this part. We struggled to adjust the servos in order to let it go straightly forward. Initially we set speed to 45 and 135, which should give the left and right servo the same speed. Yet the robot kept turning to the left.
To reseolve it, we first tried to tighten the screw on both wheels to reduce wobble. Then we calibrated the motors by writing both servo to 90, and turning the middle-point adjustment potentiometer until they stopped moving.
Ultrasonic Sensors:
To detect the distance to wall, we added 3 ultrasonic sensors: on the front, left, right, respectively. Since there's only limited number of pins on the Nano, we connected all three US sensors' Trigger pins together, and then connected to one pin on Nano. The result was that we can trigger all US sensors at once, and then detected the back signal using the Echo pin on each sensors. With the echo time interval and speed of sound, we can calculate distance to obstacles on three sides.
Below is the snapshots of our robot completing this task:
Then comes the navigation task:

- Start in position 1, immobile.
- Once you press the RESET button on the Nano, it will remain motionless for 1 second, then head North towards position 2.
- Once at position 2, it will turn smoothly in place to its left to face West, then navigate towards position 3.
- Once at position 3, it will turn smoothly in place to its left to face South, then navigate towards position 4.
- Once at position 4, it will turn smoothly in place to its right to face North, then navigate towards position 3.
- Once at position 3, it will turn smoothly in place to its right to face East, then navigate towards position 2.
- Once at position 2, it will turn smoothly in place to its right to face South, then navigate towards position 1.
- Once at position 1, it will turn smoothly in place to its left 540 degrees (1 ½ turns) ending facing North where it will remain in place stationary.
In order for the robot to navigate the maze, we added a series of conditional statements to make a turn only when the ultrasonic sensors detected a wall; otherwise, the robot should go stright forward.
Below is a video of our robot completing this task:
To visualize and help with debugging, we also printed each stage and distances out while the robot was moving:
For this task, we initially ran into problem when we tried to program navigation using switch statements.
The arduino evaluated one of our case condition abnormally, and we weren't able to make the robot go forward after turning at position 2. We tried several ways to debug, like adding delay, using millis(), and record its movement with bool variable and int count, but none of those helped. After a long time of debugging, we decided to change our code using if-else statements. We used the extra lab sessions this week to rewrite our code and ran a lot of tests, which finally resolved the problem.
Another challenge was that when we changing environment, like when we brought our robot home and let it move on the cement floor, it performed differently from when it moved on tables of the lab room because of difference in friction. So we had to change servos' speed and time in order to achieve full turns and enough distances.