Objectives
- Connect the motors to the motor drivers, and the motor drivers to the Artemis
- Demonstrate ability to move motors effectively
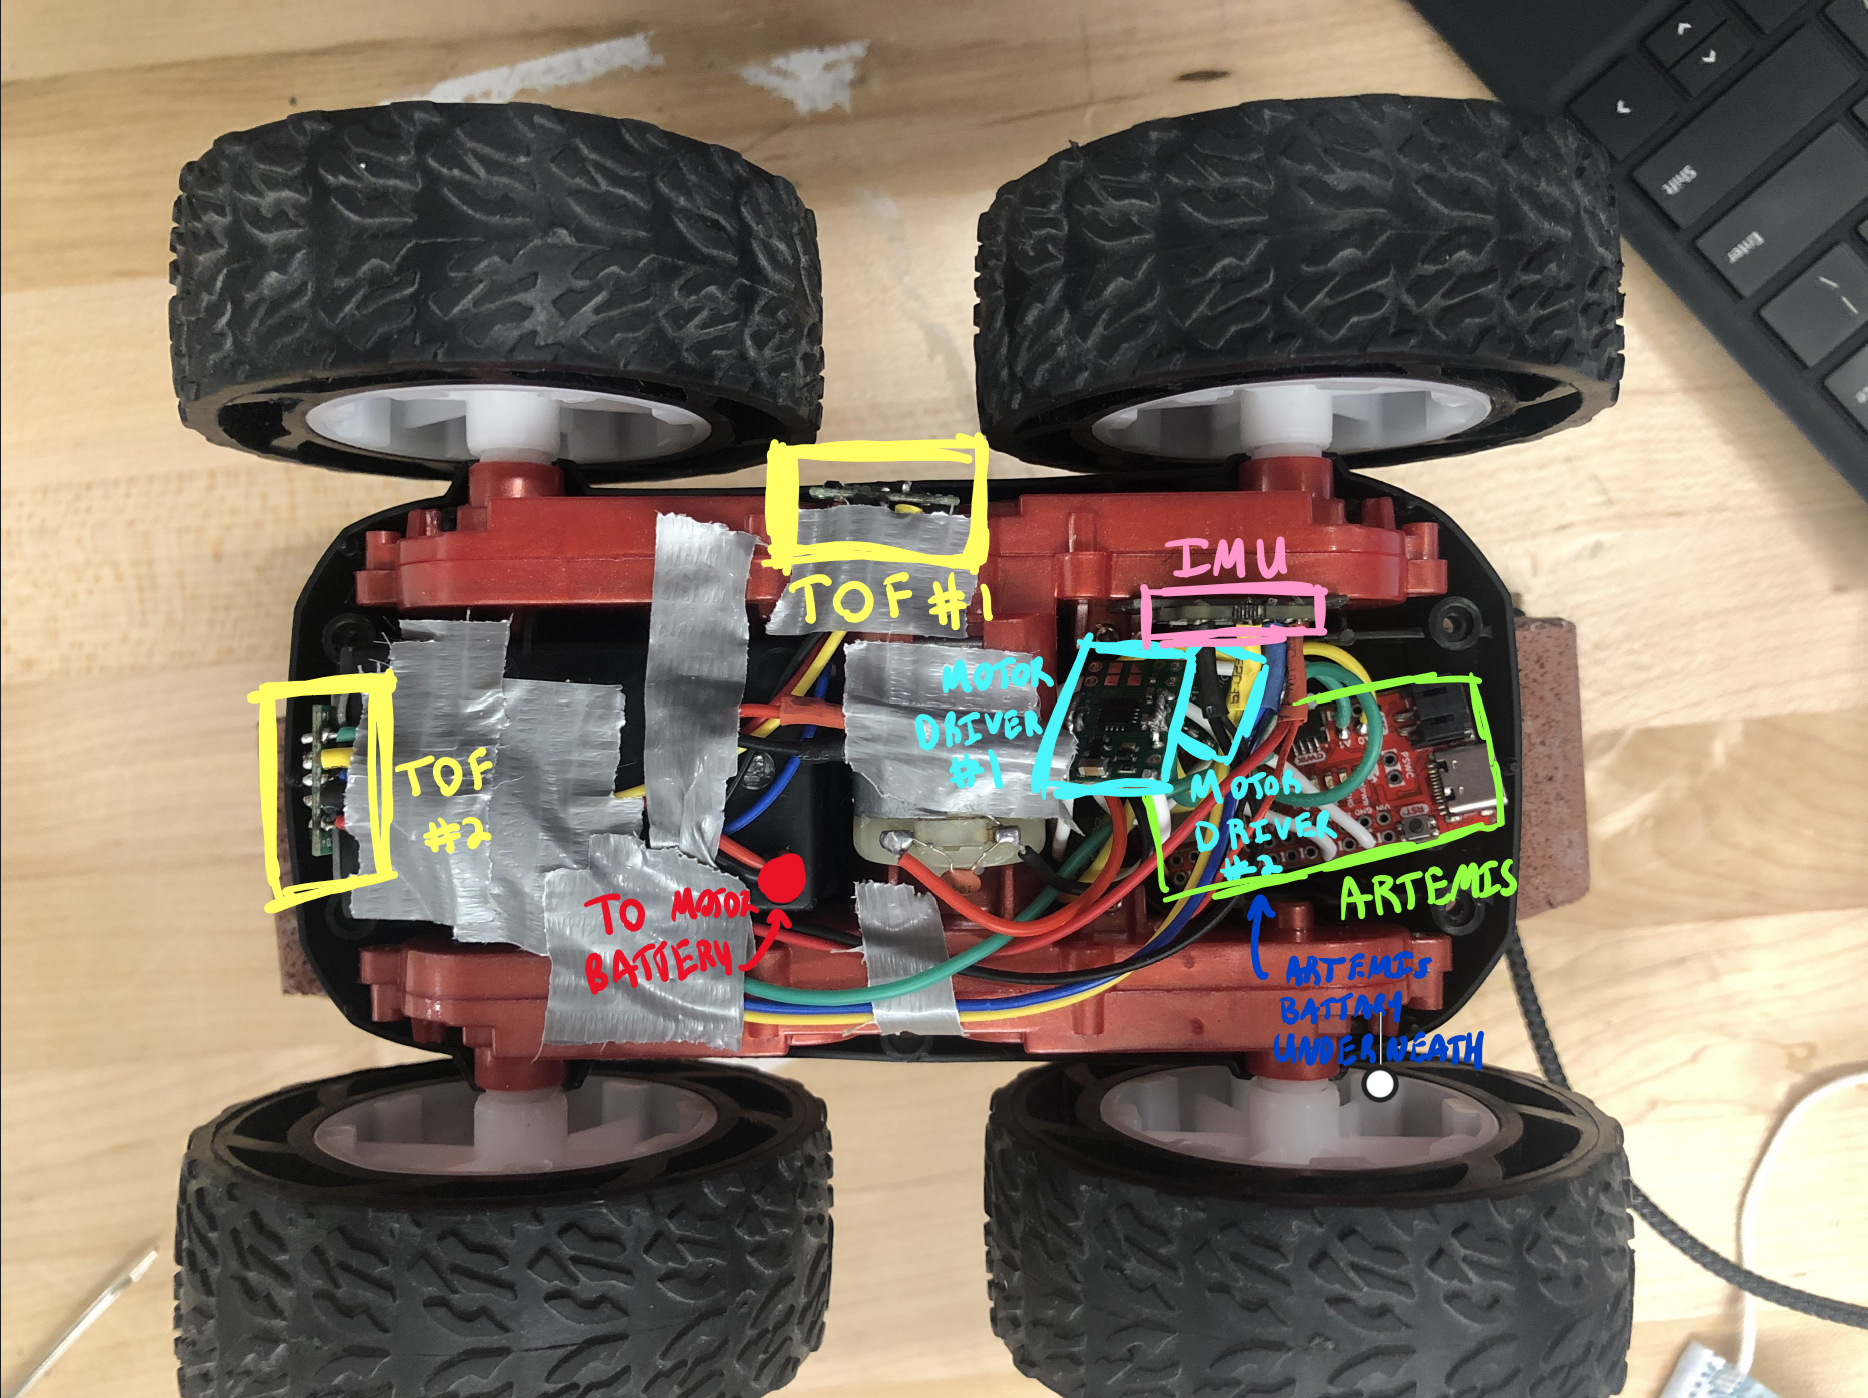
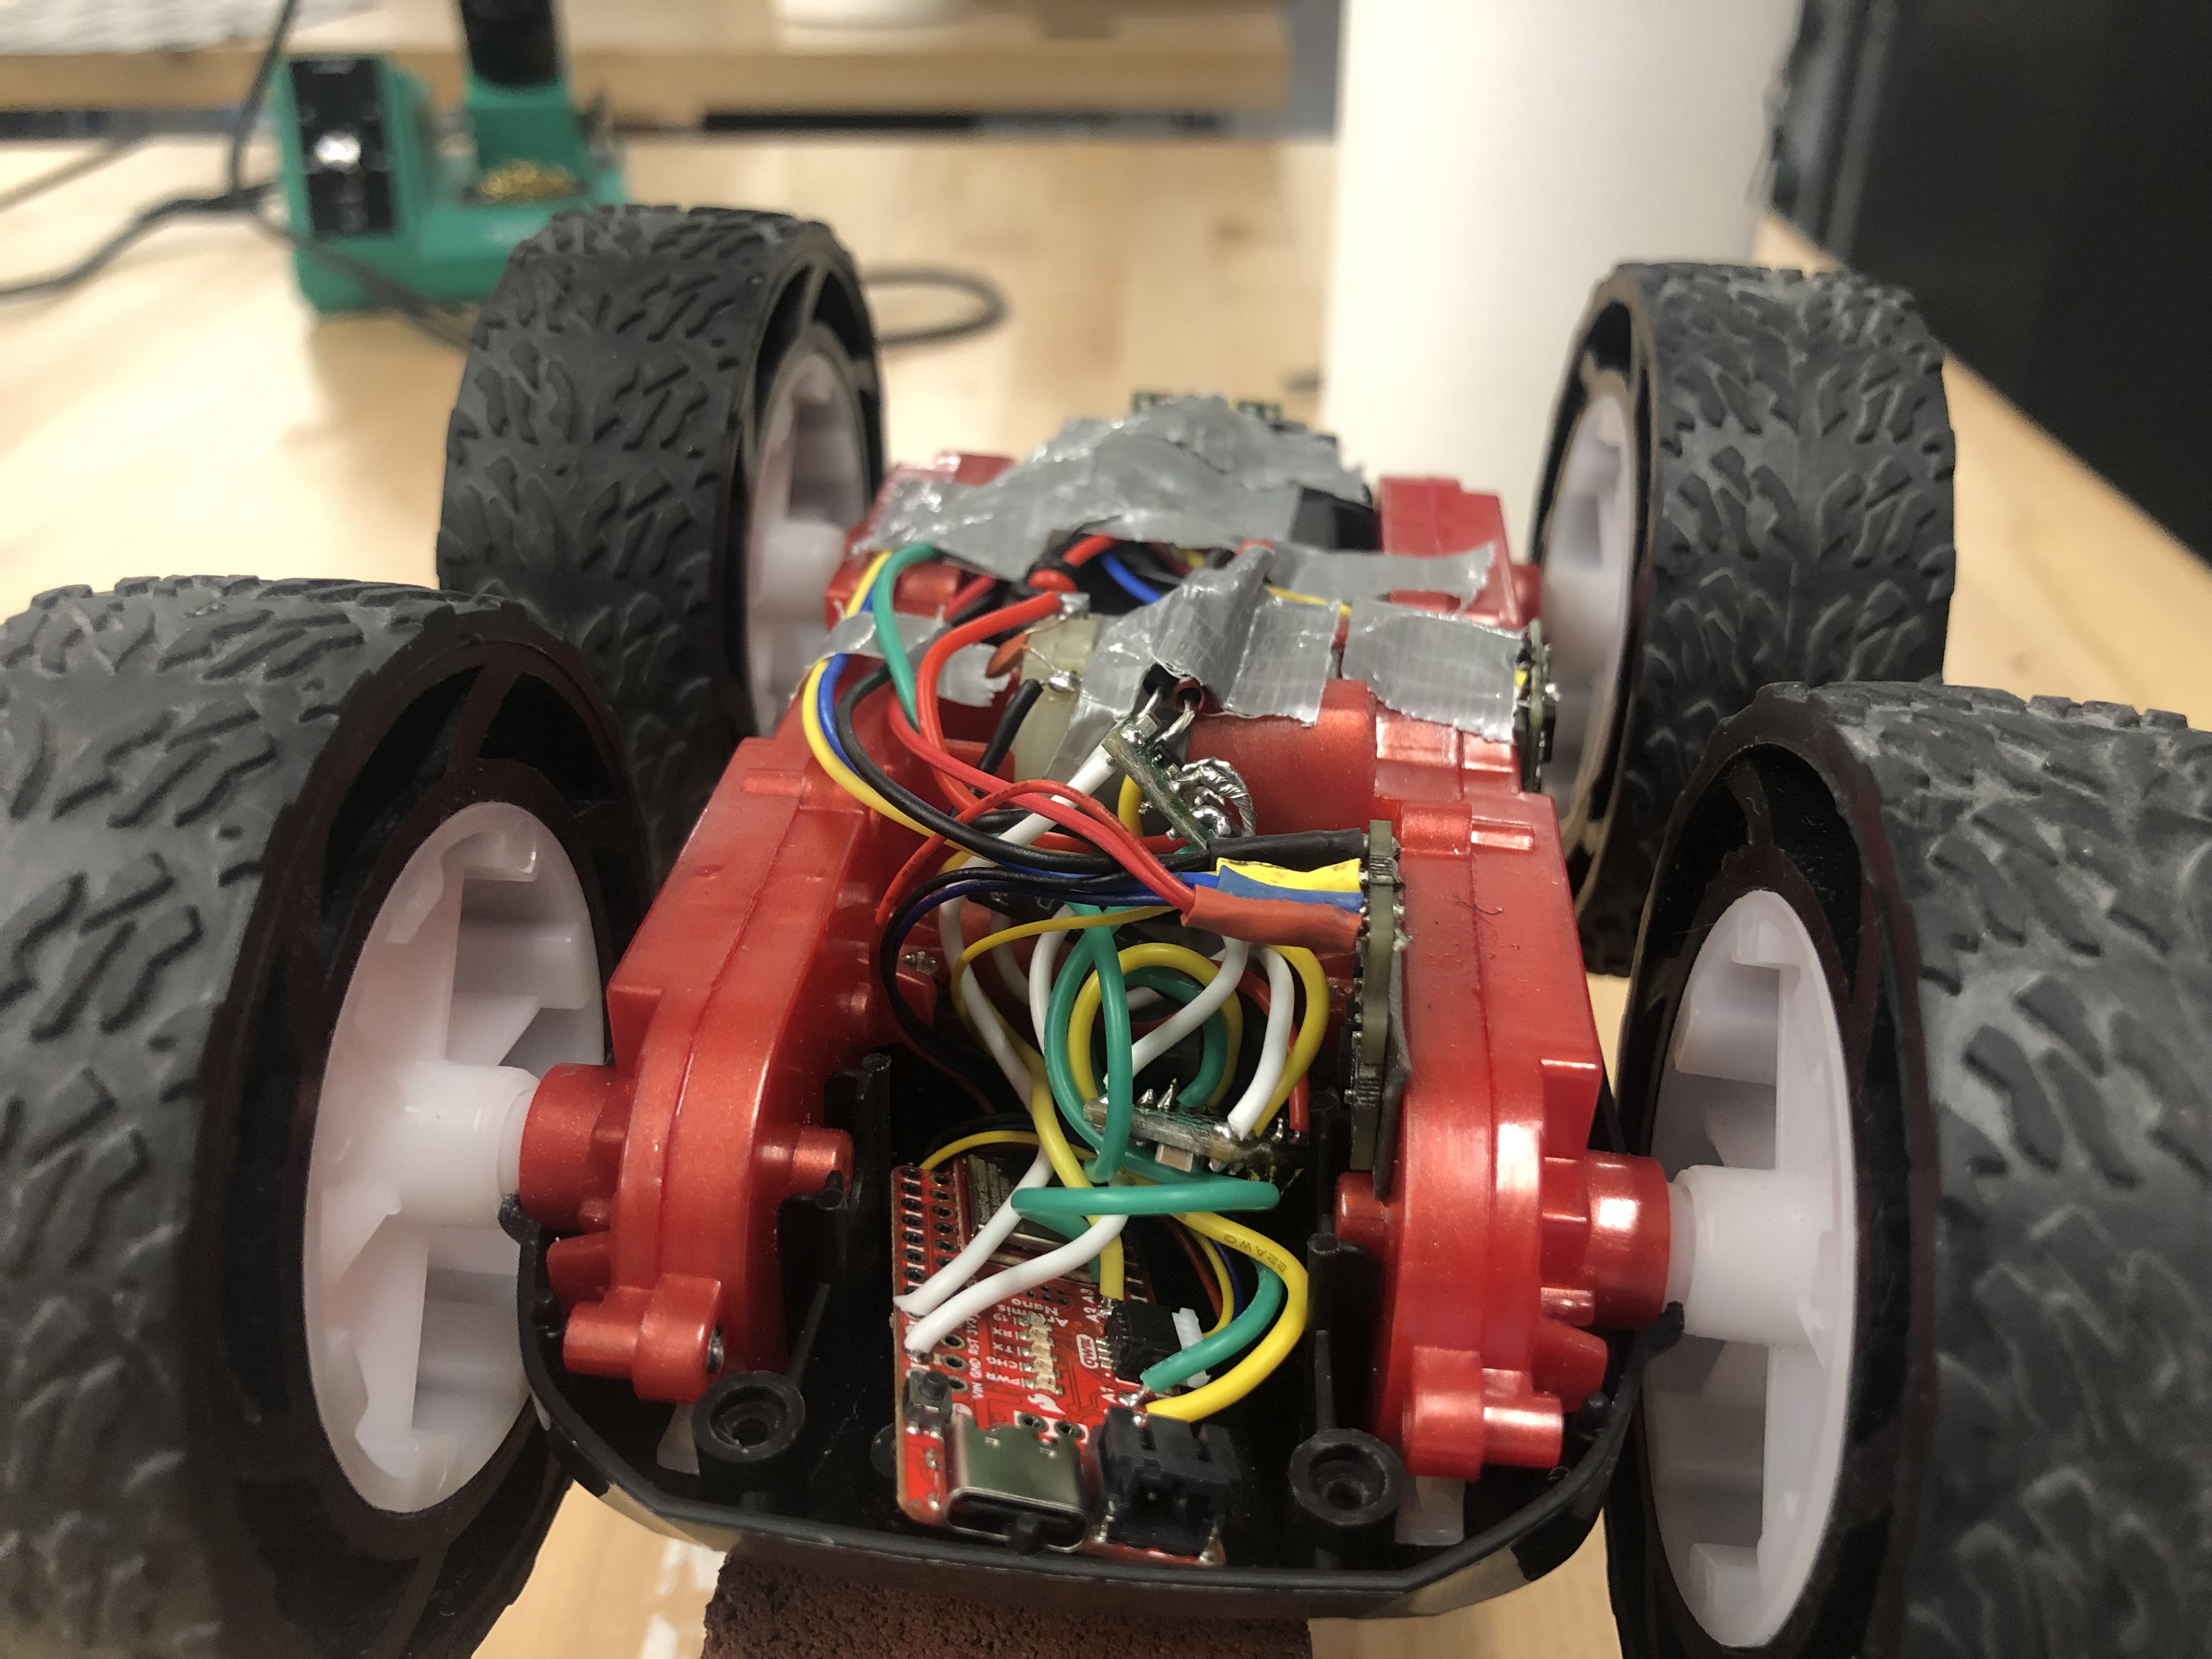
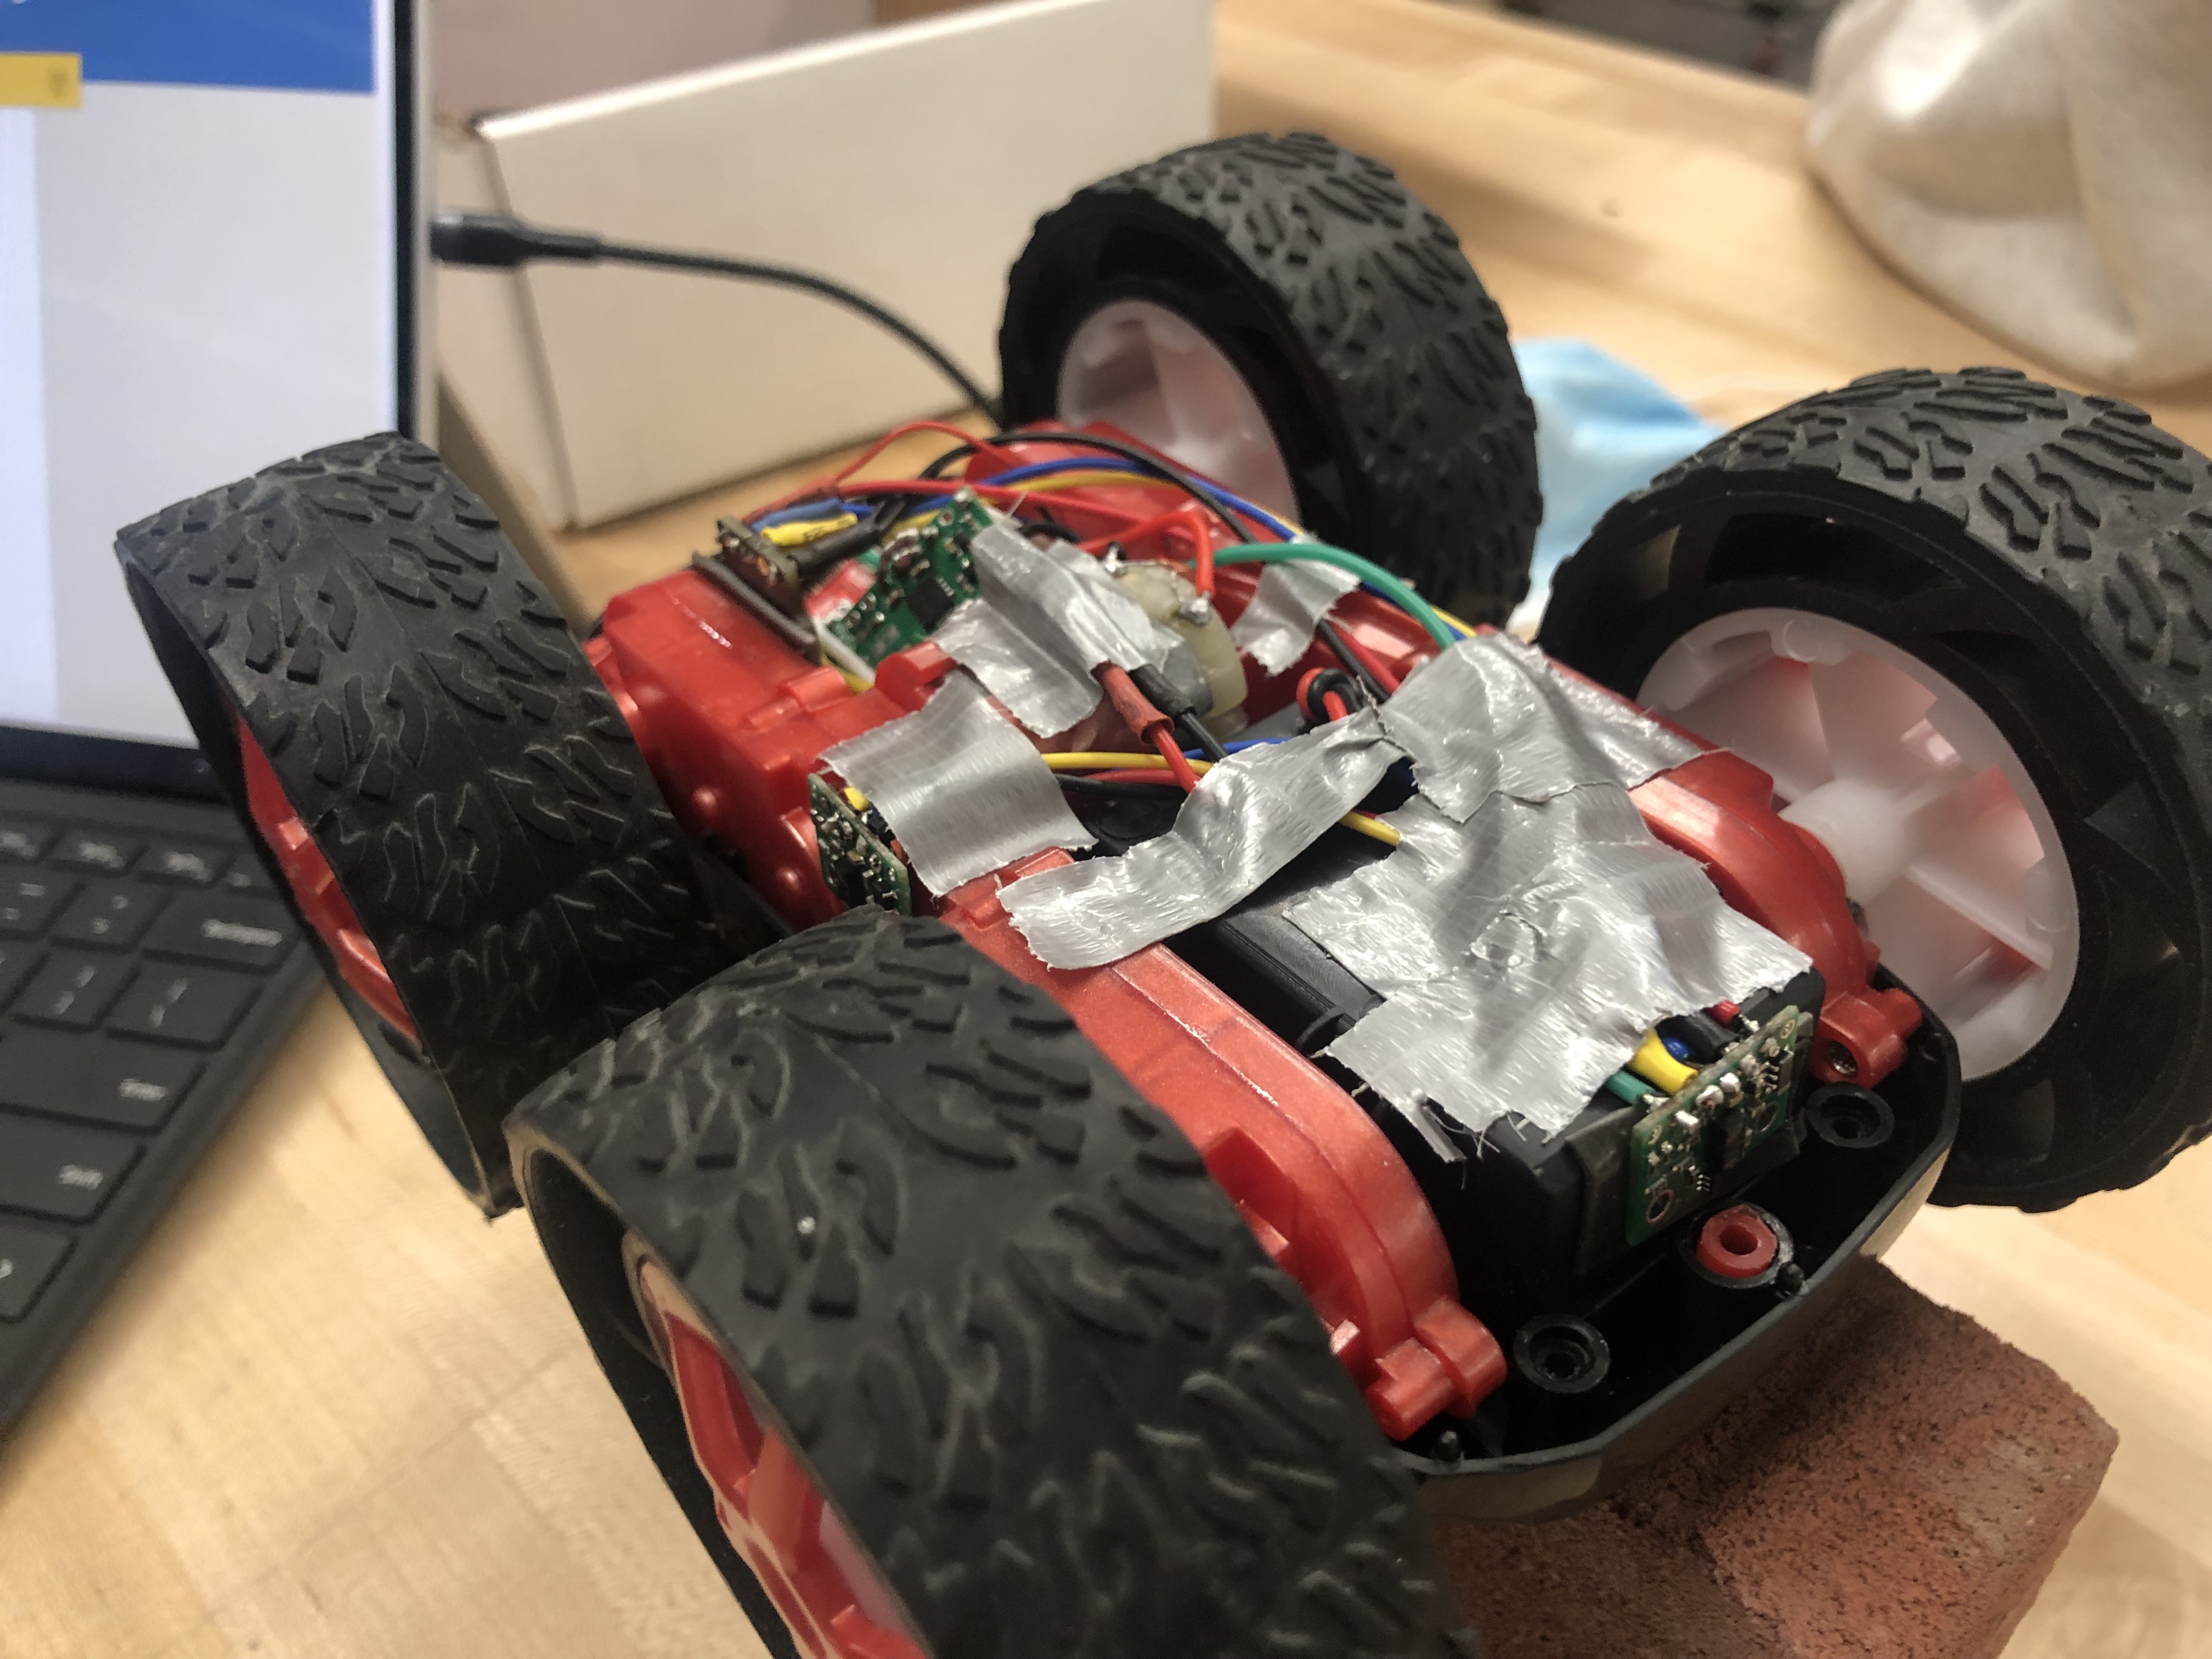
- Place all the sensors, battery, and other components in the car chassis permanently
Materials
- 1x SparkFun RedBoard Artemis Nano
- RC car
- 2x Li-Ion 3.7V 400mAh batteries
- 1x 3.7V 850mAH battery
- Various wires, soldering iron, helping hands, etc
Prelab
I used the A1 and A0 pins on the Artemis to write analog signals to the left motor, and A2 and A3 for the right motor. Below is my wiring diagram including the two motor drivers and Artemis.

It is important to note that I used separate batteries to power the motors and Artemis (850mAH and 400mAH, respectively). This is because it reduces the risk of accidentally frying the Artemis chip by drawing too much current to it.
Testing PWM Signals
After wiring the motor drivers up to the Artemis and to the car's motors, I used the Arduino's analogWrite command to actually control the speed of the motors. The way analogWrite works is it creates a PWM waveform, which is based on the input value (0 to 255). The input value reprsents the duty cycle of the PWM waveform. Below is my code to control the motors.
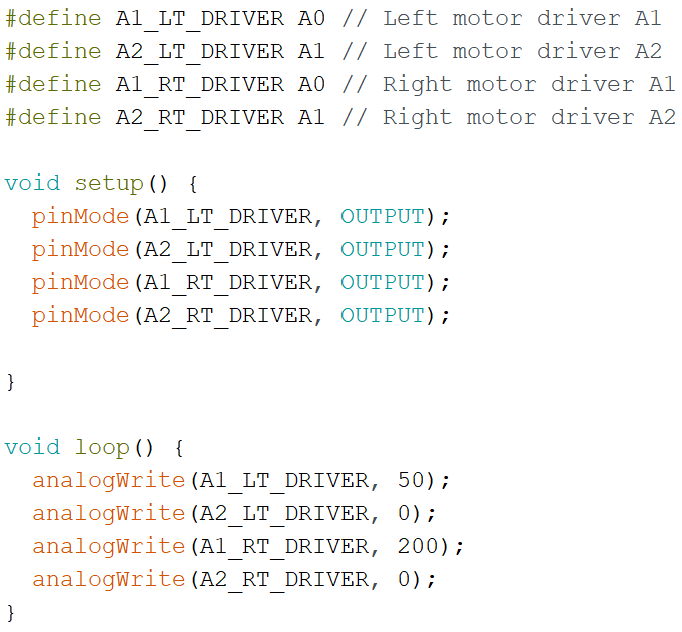
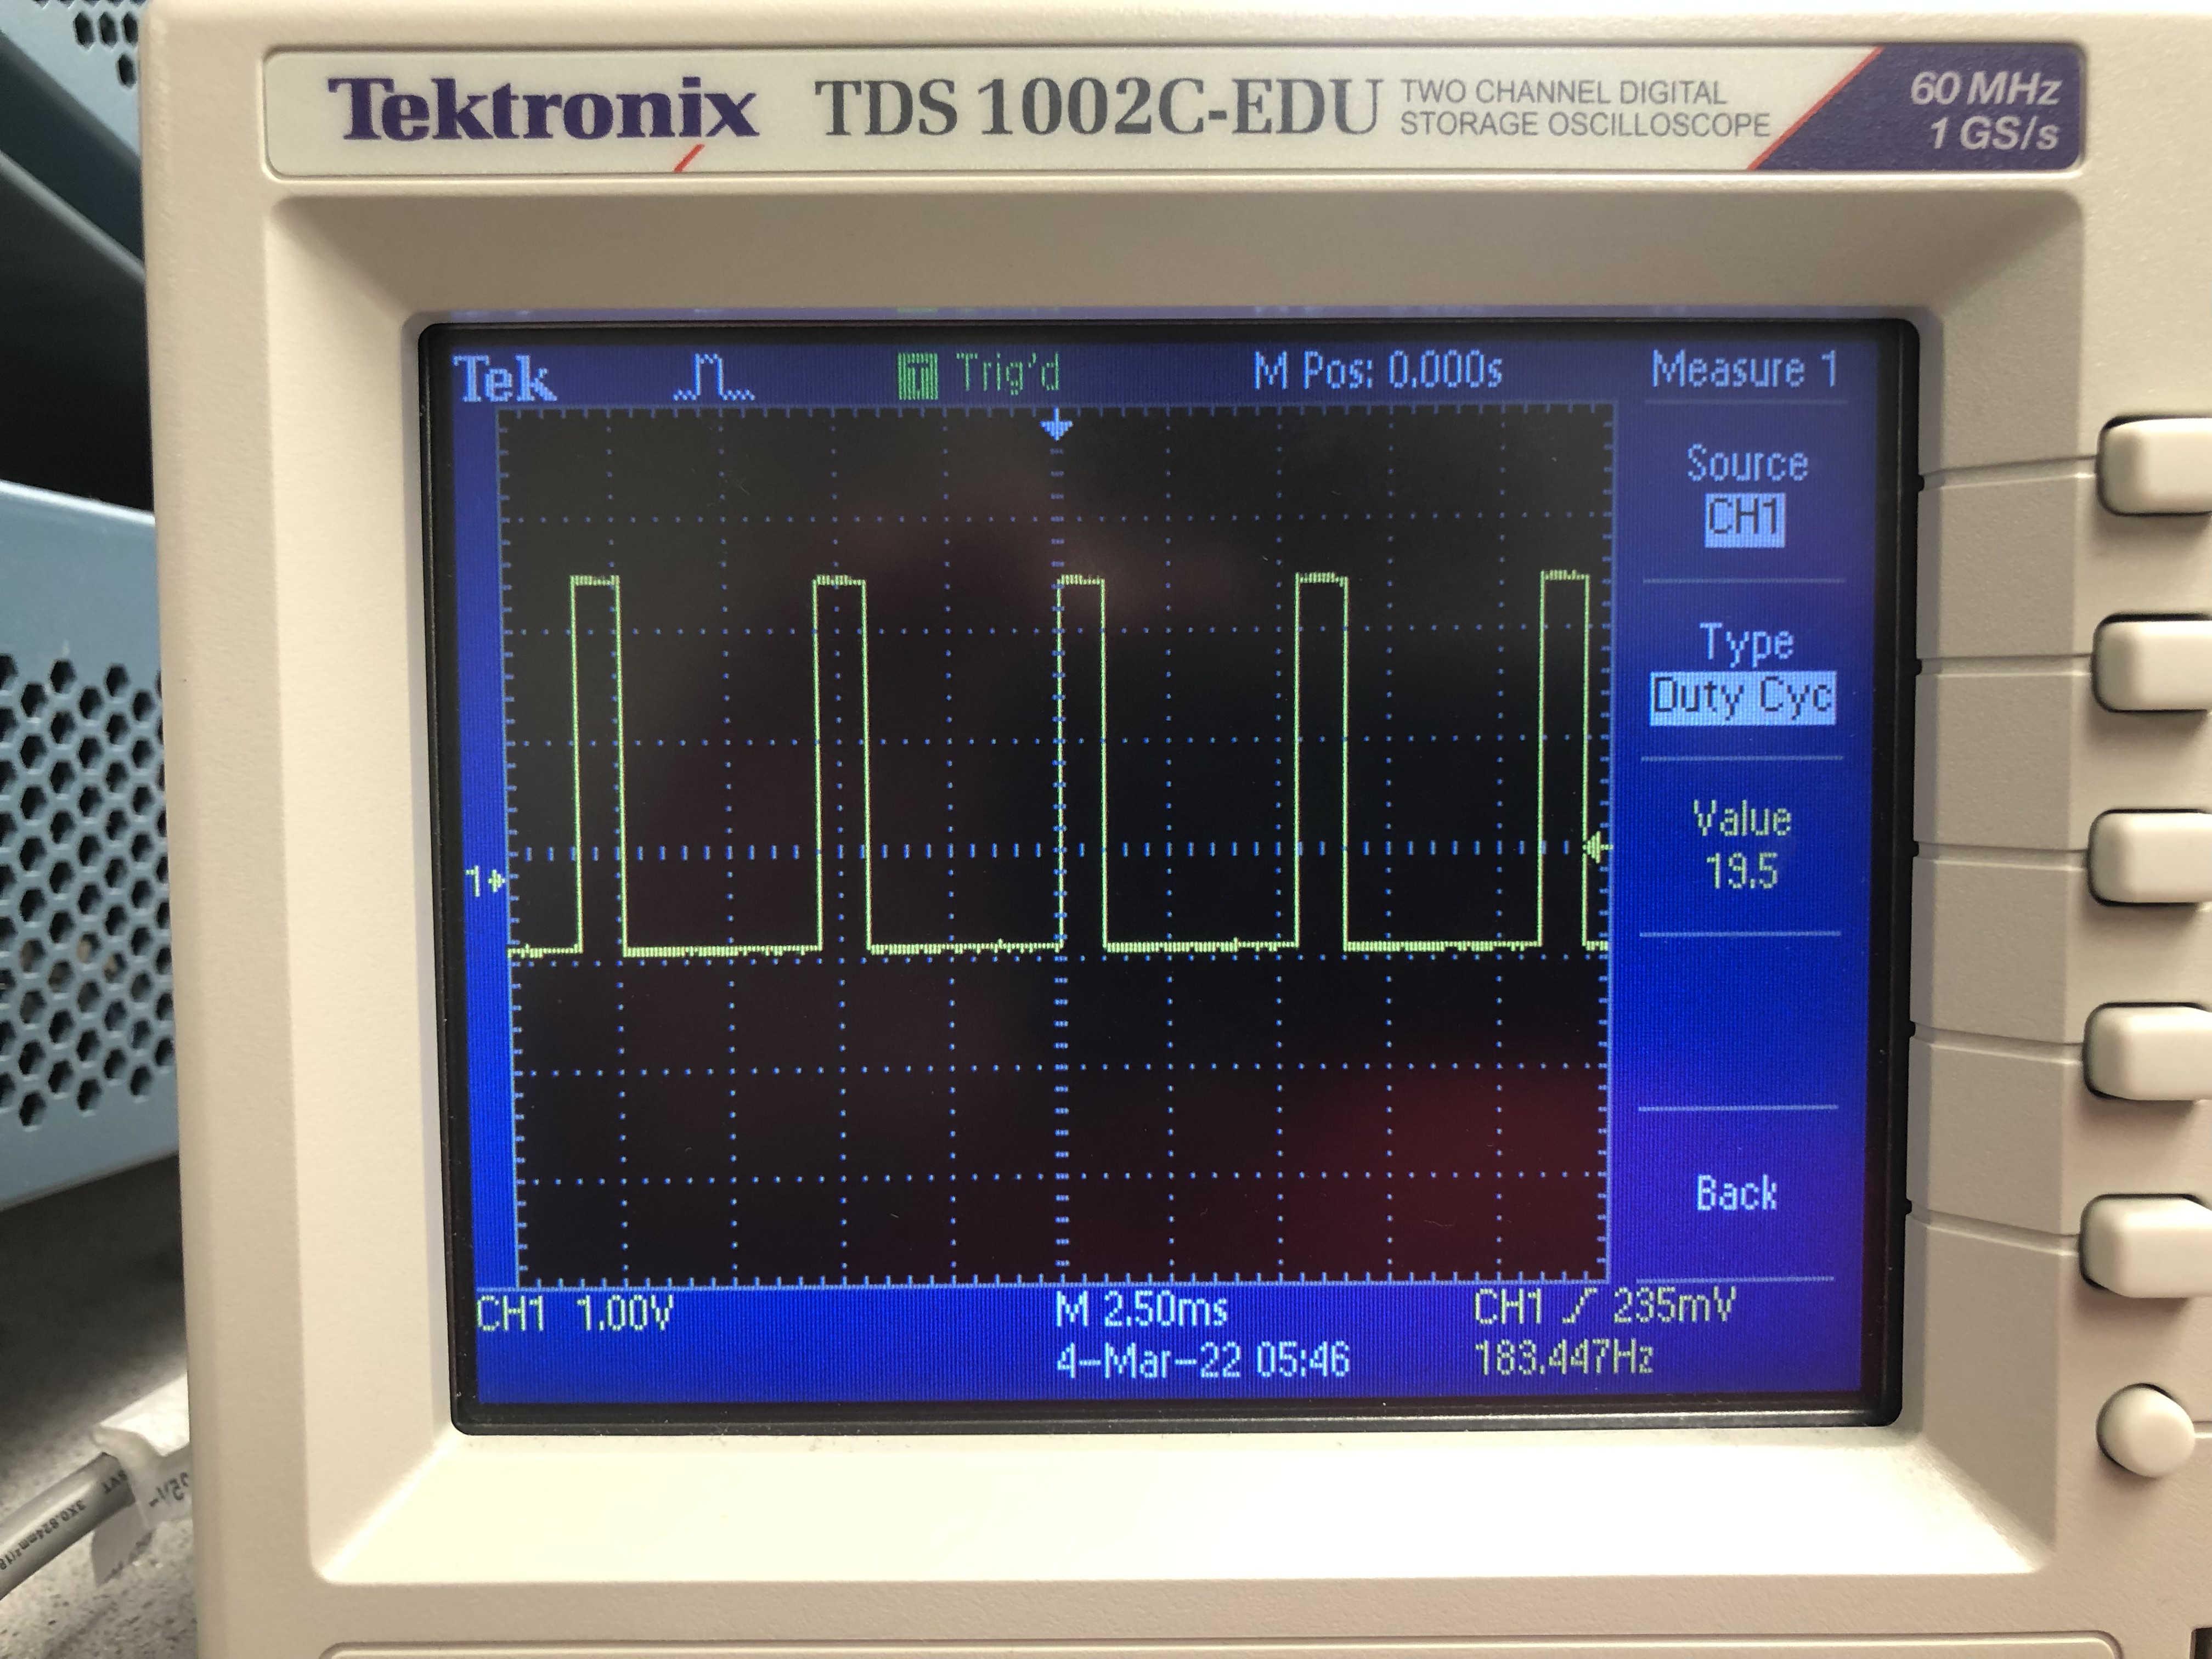
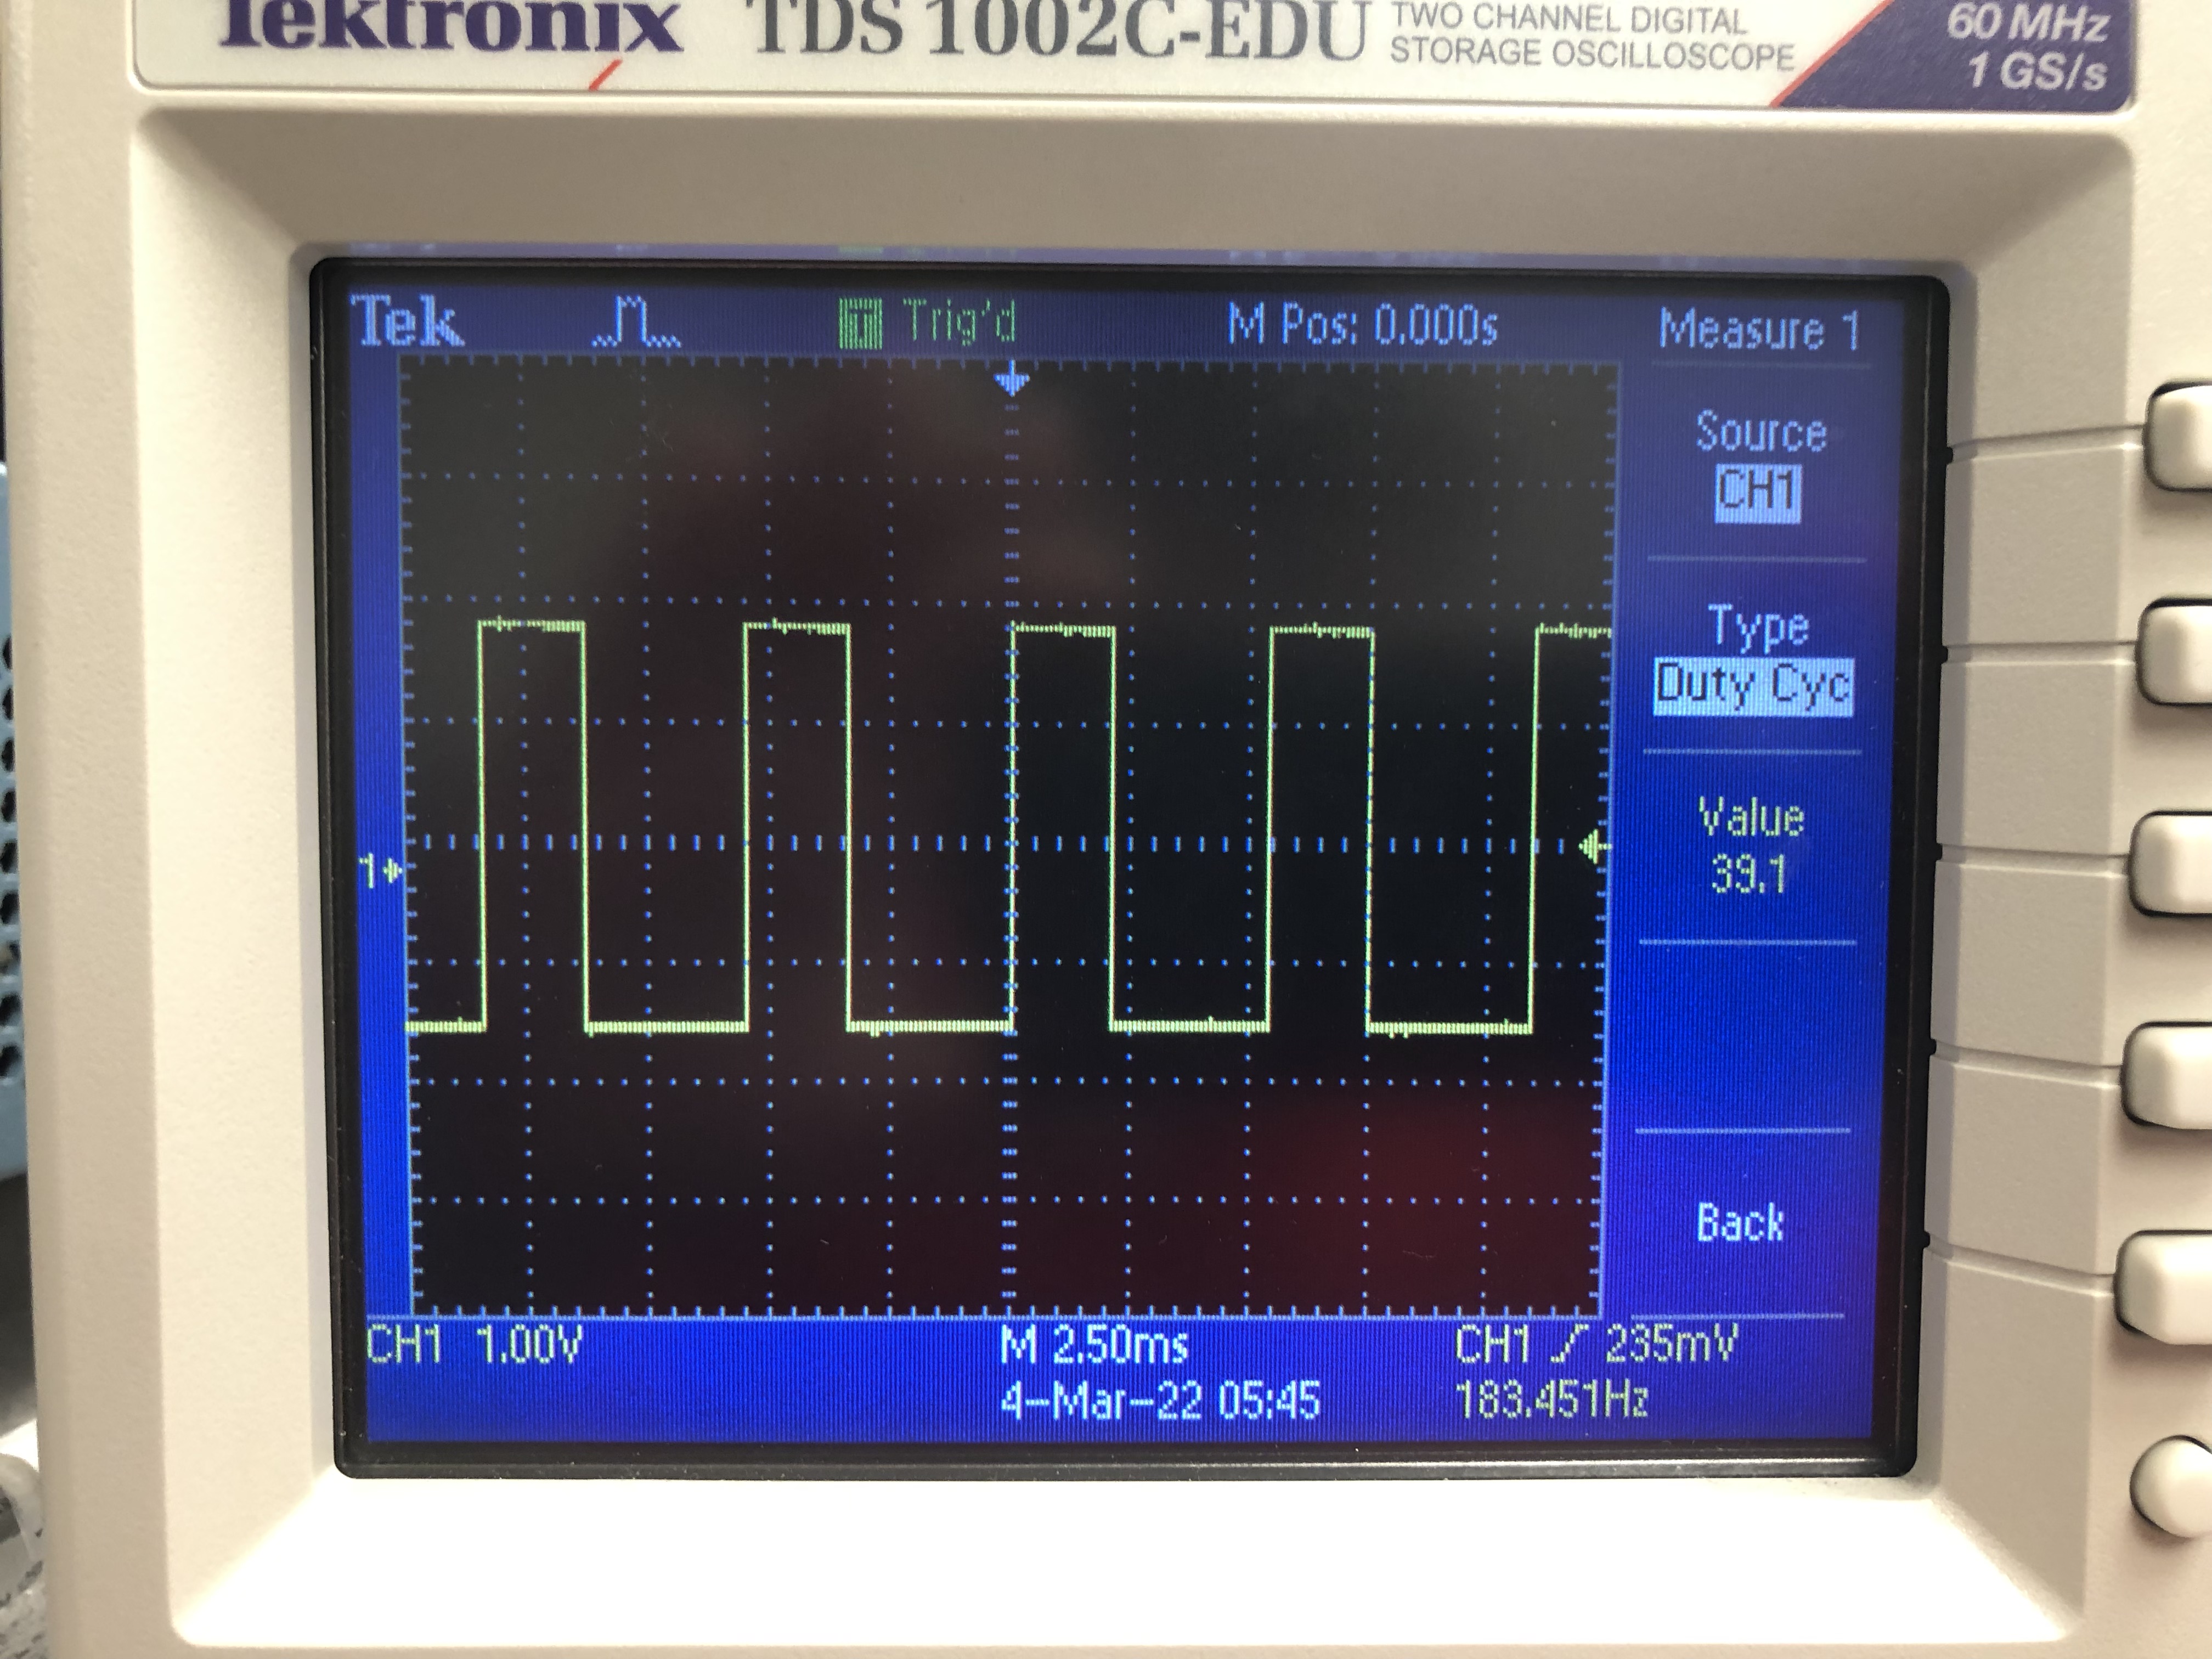
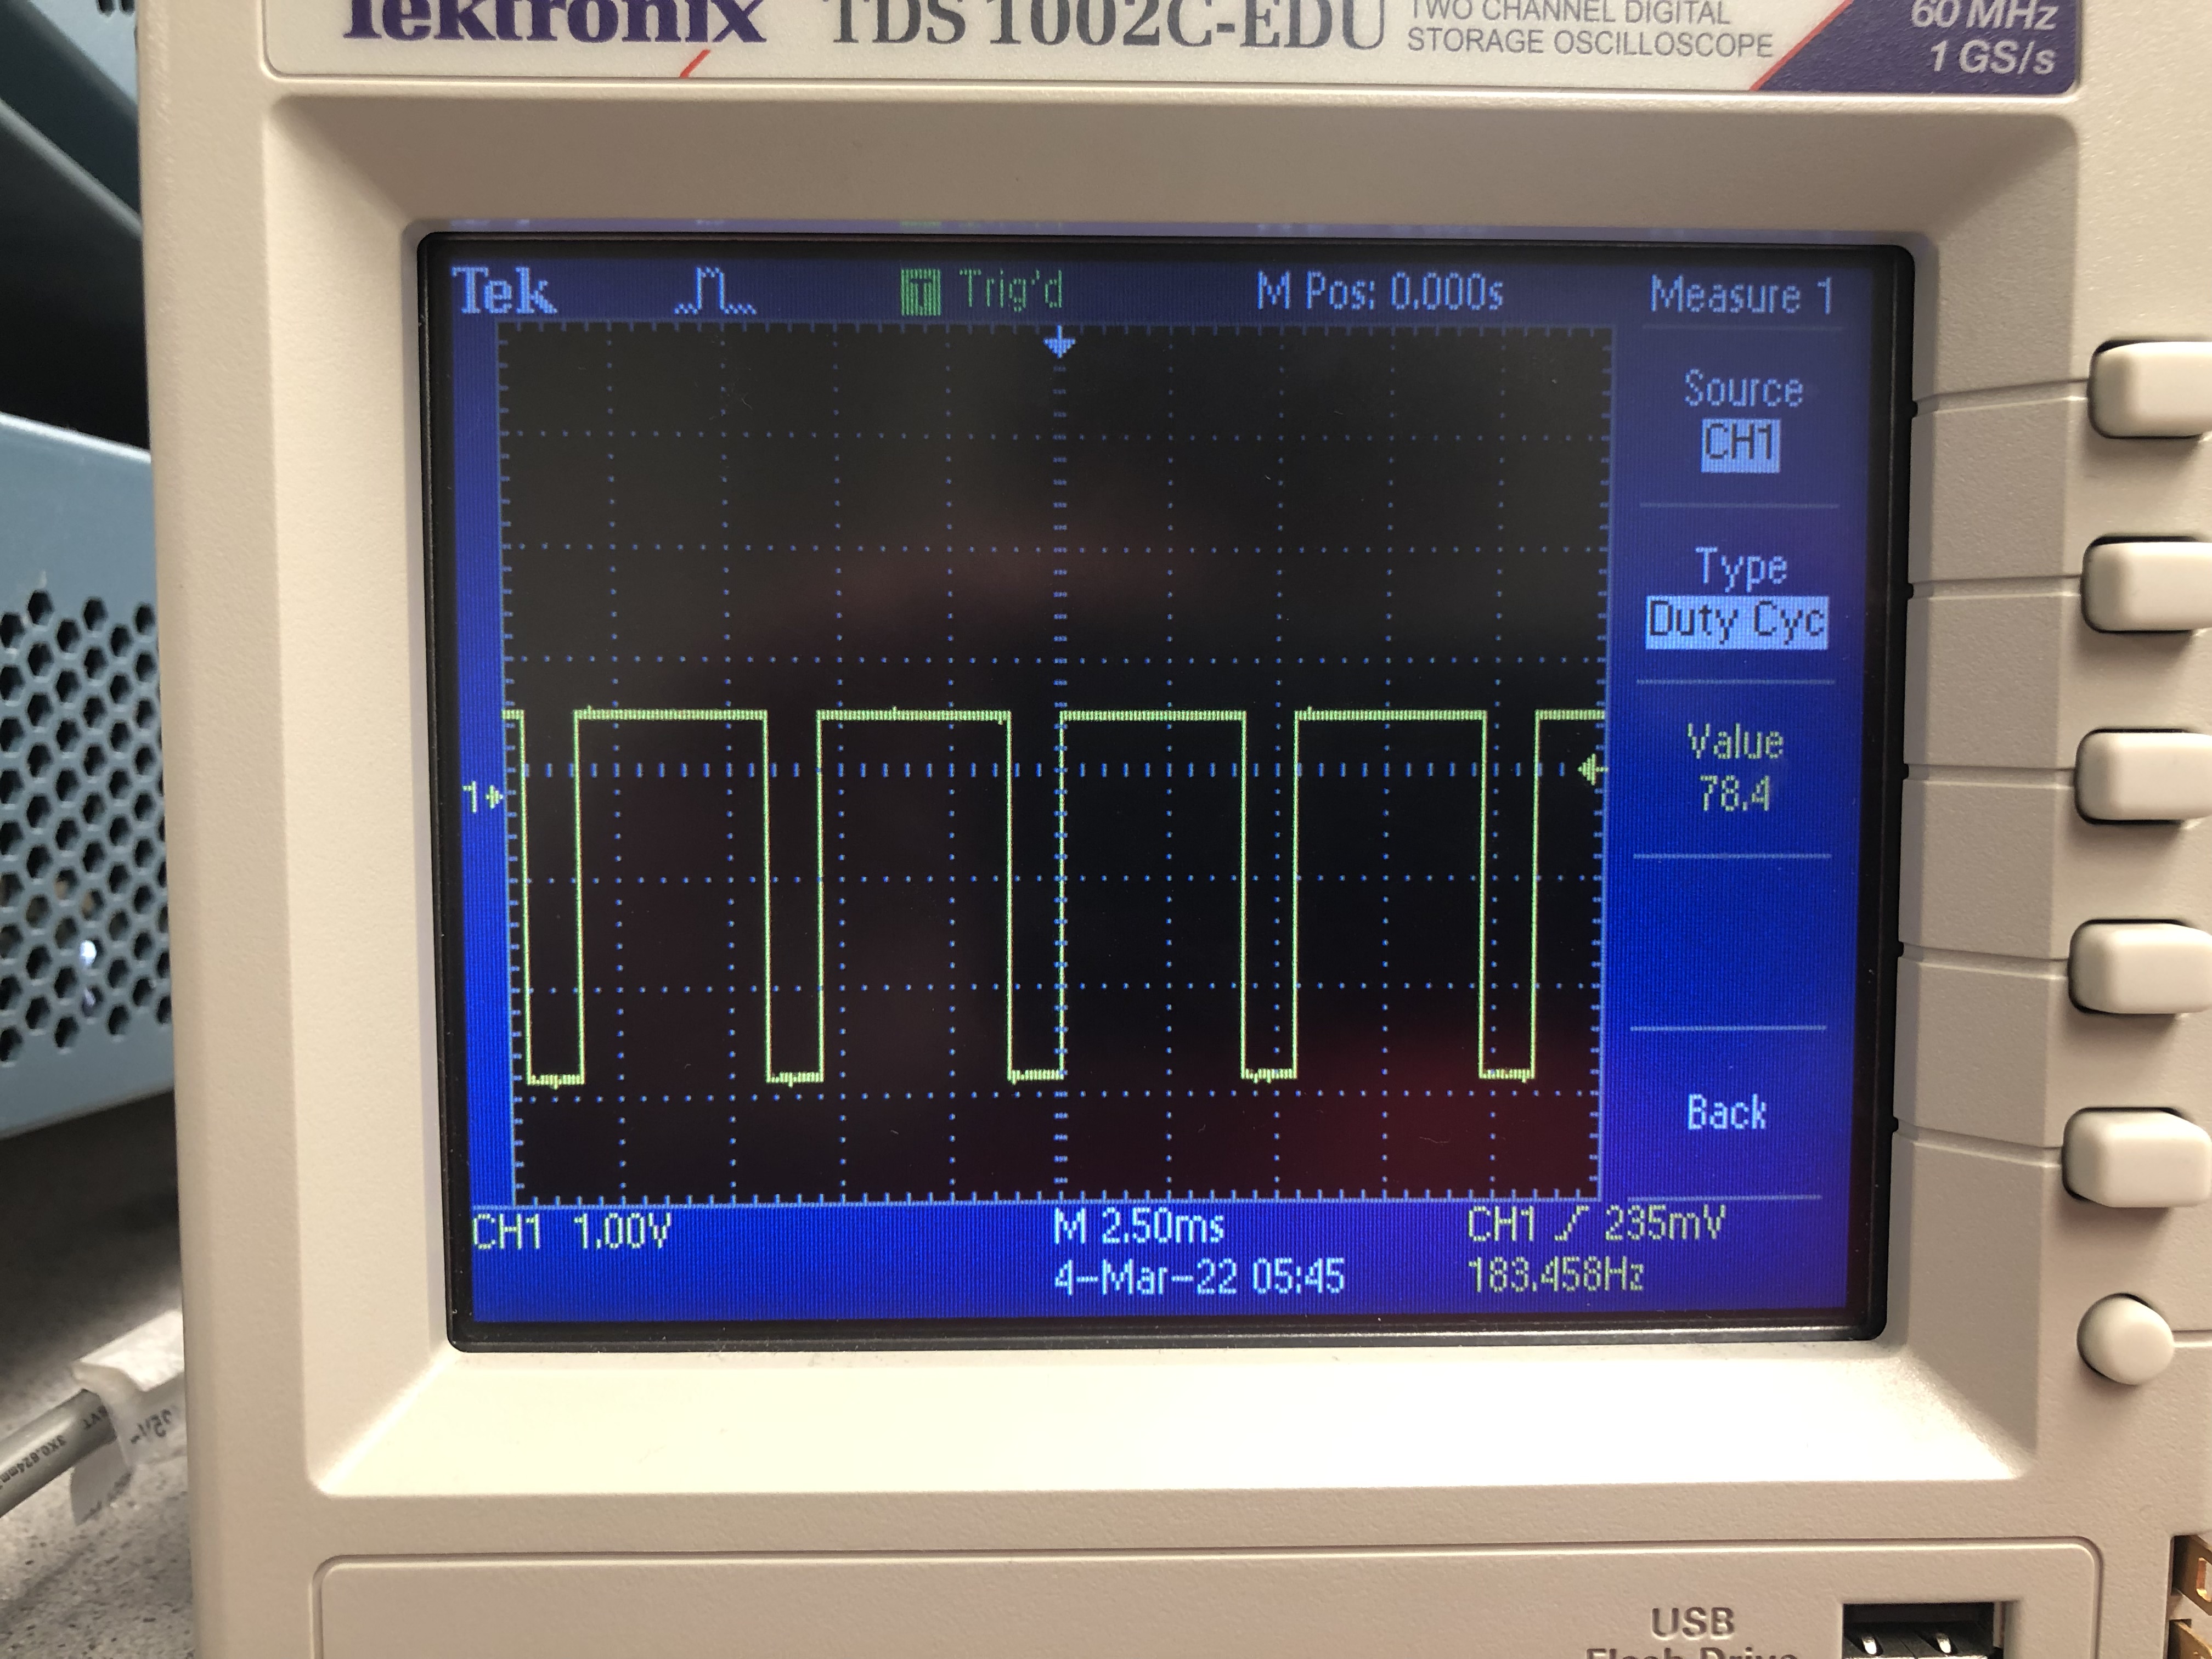
I connected the output from the Artemis up to an oscilloscope to make sure it was generating the correct PWM signals. I used an external power supply, outputting 3.7V, during the testing process. Below shows my oscilloscope finding when writing values of 50, 100, and 200 respectively. The waveforms are as expected.
Next, I tested to make sure the motors were behaving as expect. I ran both motors both ways, which is shown in the videoes below.
Controlling the Car
The last step to make the car completely functional was to connect the battery to the motor drivers. After doing that, I ran some tests to ensure proper functionality of my car robot. I discovered the lower limit for which each motor still turns is around 22. My motors are extremely unbalanced. I found that calabration factor of 1.1 to 1.2 subjected to the left motor returns a sufficient straight result. This is most likely because I connected the two motor drivers in series rather than in parallel to the battery. In the future, if this becomes a larger issue, I will redo my solder work and connected the two in parallel. Below are two videoes showing my motors are calibrated properly by being able to move in a straight line.
Finally, here is a video showing my car robot can propely execute turns and other movements.
Gallery
