Objectives
- RF Communication between robot and base station
- Re-code previous programs to become non-blocking and use the ADC where needed
- Finalize onboard FFT and install override start button
- Implement a navigation algorithm to navigate the maze in the Final Demo
- Implement PID control
- Transmit, receive, and display measured treasure frequencies using three phototransistors
Materials
- 2 x RF PCB adapters
- Jumper wires
- 1 x 9V battery and snap connector
- Two 4-pin, and two 3-pin, each snapped off from a row of headers
- 1 x LM358 op-amp
- Laptop speakers
- Two 8-pin header receptacles
- Two RF transceivers
- Pushbutton & resistor
RF Communication
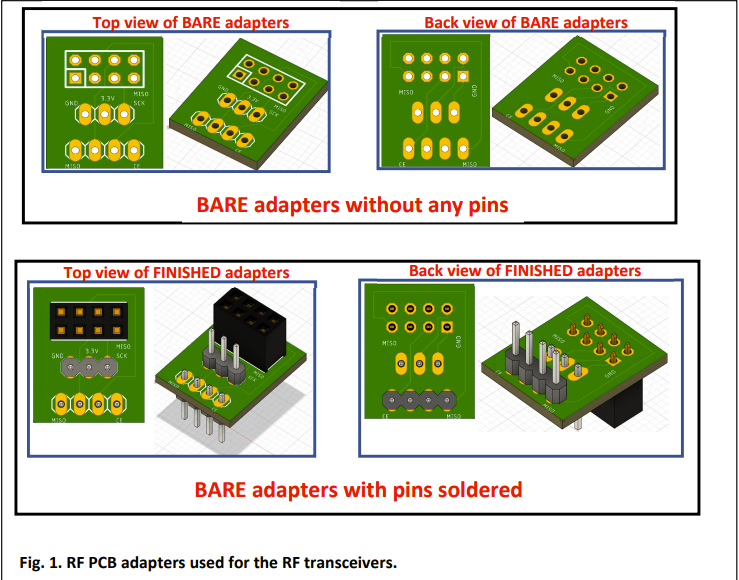
To start the lab, we had to attached RF transceivers to our breadboards using PCB adapters as an interface. To do this, we soldered headers onto the PCB adapters. Below is a look at what the adapters look like before and after soldering the headers:
We then connected the RF transceiver to the finished adapter, as pictured below:
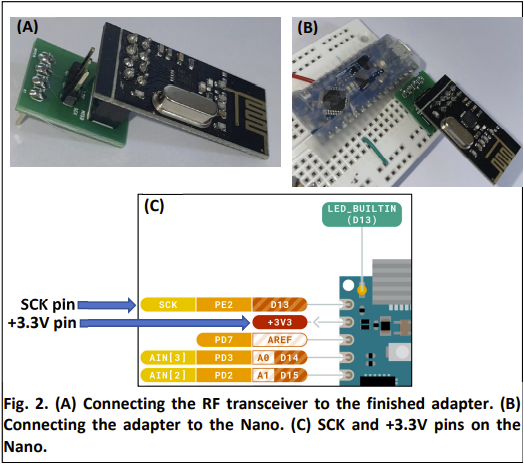
After this, we connected the MISO (D12) and MOSI (D11) pins ro the transceiver, as well as pins D9 and D10 for CS and CE.
With the RF transceivers installed, we used the provided receiver and transmitter code (with alterations to the pipe addresses so we can distinguish our signals from other groups in the class) to send basic information at a constant time interval and display it on the serial monitor.
Non-Blocking Coding
An important part of this lab was to make all of our previous code non-blocking. This means we cannot have the Nano stop doing only one thing when we will need it to perform many other actions at the same time.
Finalize FFT & Override Button
The first part of the final demo is to listen to a melody and detect a trigger note of 950Hz. This will start the maze navigation. With the Arduino FFT code in place from Lab 3, we now had to adjust it to look at the relevant FFT bins to see if we have measured 950Hz. We decided to not measure only one bin as this would leave us prone to false starts given there are many outliers with the FFT output. Instead, we measured 3 bins at the 950Hz region, and if the sum exceeds some threshold, then we could be confident enough to start navigating.
If the robot does not start navigating after the 950Hz trigger note is played, then we will need to rely on a backup. We added a simple pushbutton circuit that will start the navigation manually when pressed.
Navigation
When navigation begins, we need to leverage a navigation algorithm to explore every spot in the maze. We decided to implement a wall-following algorithm that tries to turn in a particular direction whenever possible. Our algorithm works by starting with right wall-following, then after 5 minutes of navigation has passed, we switch to left wall-following. With this algorithm, we hope that if the right wall-following fails to discover certain parts of the maze, the switch to left wall-following will finish the rest.
PID Control
As discussed in Lab 1, the servos are not good enough on their own to stay centered between the walls and navigate the entire maze. We implemented PID control to solve this problem, where we will obtain a correction value based off of the US distances from the left and right walls to decide how we should adjust each servo so we can keep centered.
There are many cases to consider. If there are walls on both sides, we try to keep the distance between each wall equal. If only one wall is detected, then we try to keep a constant distance from that wall. Finally, if no walls are detected, we rely on the servos to stay as straight as possible until we can work off of the walls again.
Frequency Measurement & Display
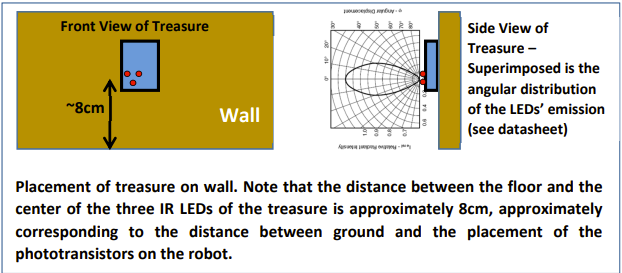
While navigating, our robot must be on the lookout for two treasures that will be positioned on the walls of the maze. Each treasure will have three LEDs that blink at a fixed frequency from approximately 1kHz to 25 kHz. Below is a view of the treasures and the angular distribution of their emission:
We will use the three phototransistors on the robot to look for these treasures and measure their frequencies. If detected, we will send the value to the base station, where it will be displayed on the 7-segment. After detecting two treasures, are robot will then stop and blink the onboard LED, signalling the end of the navigation.
Final Demo
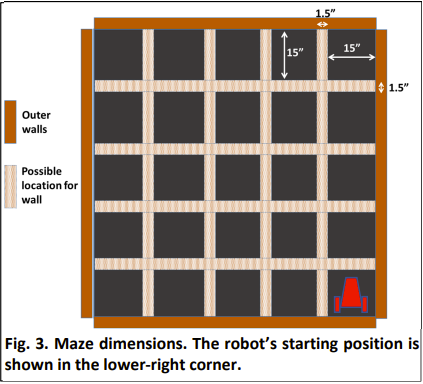
The final demo will have a maze with some orientation of the walls. Below is an image of the maze layout, depicting the possible locations of walls and the starting location of our robot:
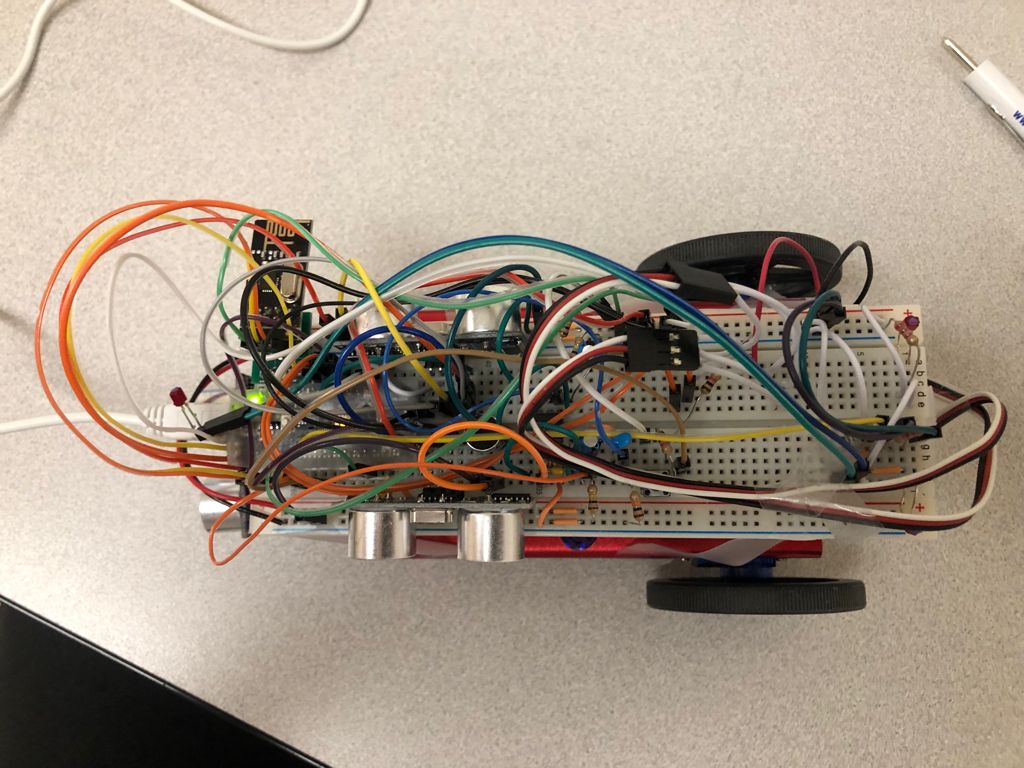
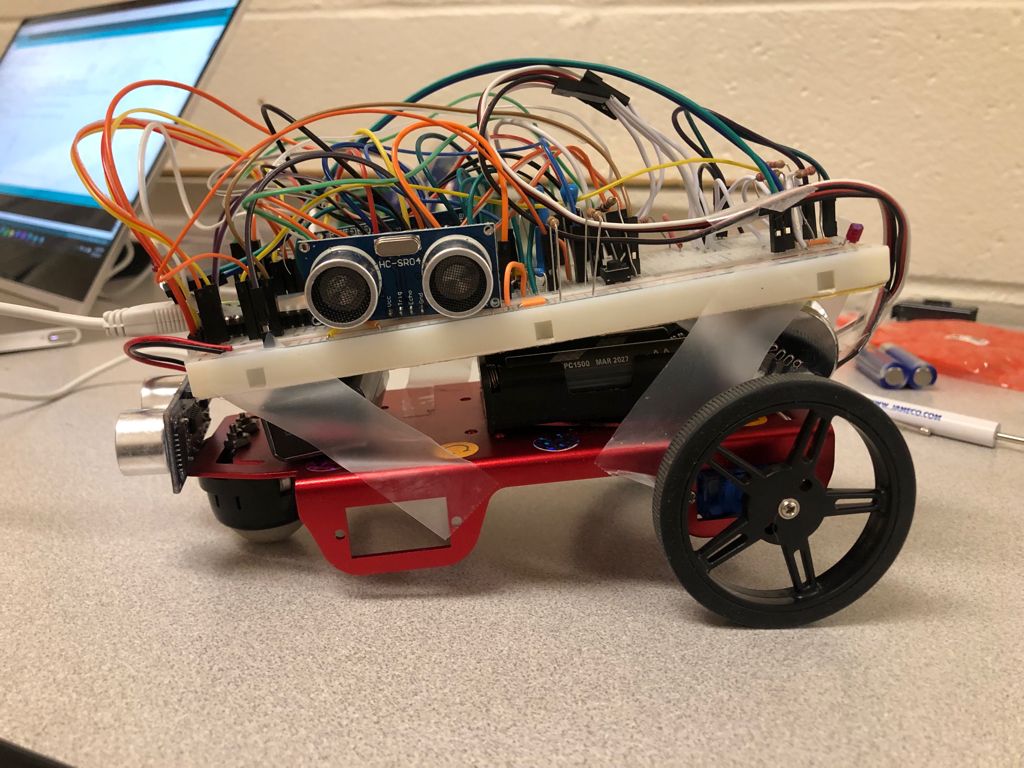
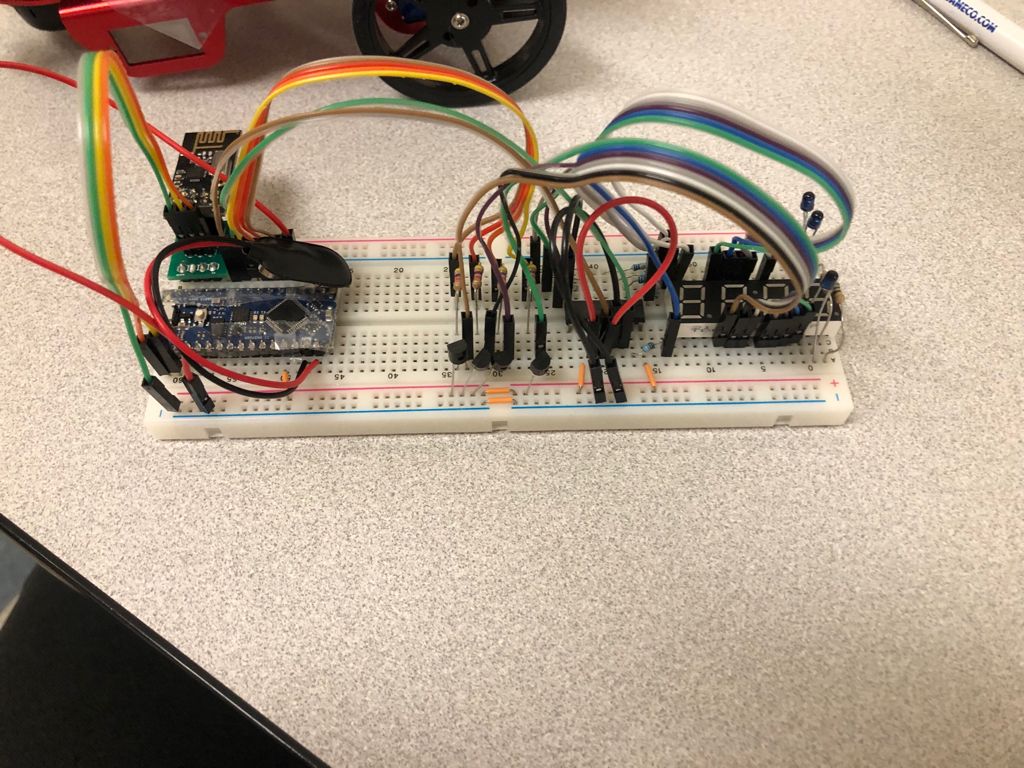
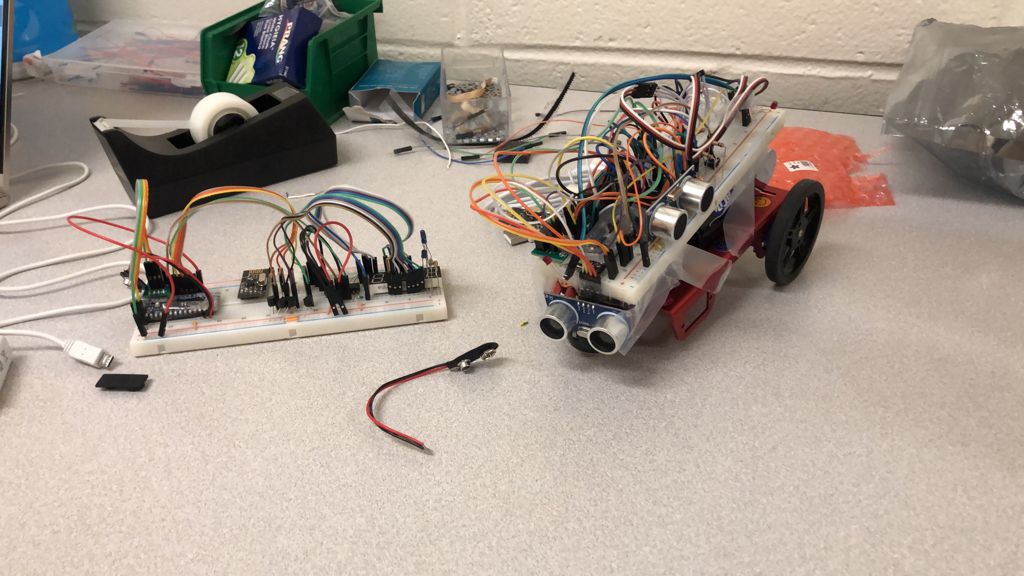
Before performing the demo, here are some pictures of the robot and base station:
And here is a video of our robot performing the final demo. The video misses the melody playing and robot successfully detecting it, but the applause should help you believe it happened.